
いろいろなシステムでいろいろなパスワードが段々と面倒になってきた…
ブラウザに記憶しているので普段は良いけど、突発的なときがパスワードを探し出すのが少し面倒…
ってことで、GitLabでもGoogle OAuth2認証でログインできるようにすれば少し楽になるなと。
サーバ環境
GitLab 12.10.5-ee Omnibusインストール
参考
まずは、Google APIsを設定
https://console.developers.google.com/ にアクセス
画面上のプロジェクトの選択をクリック
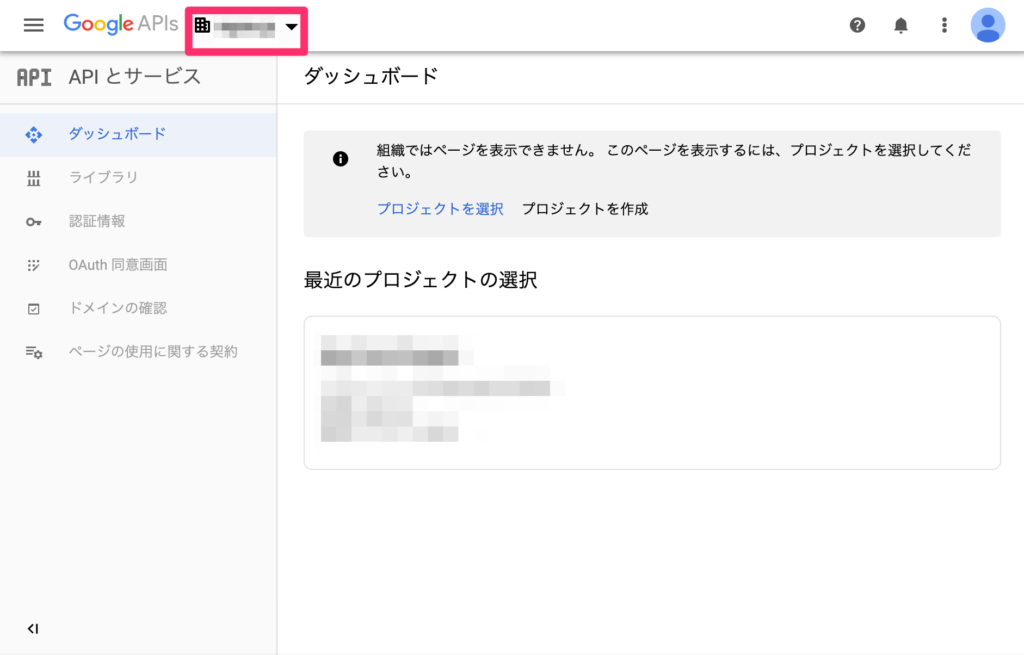
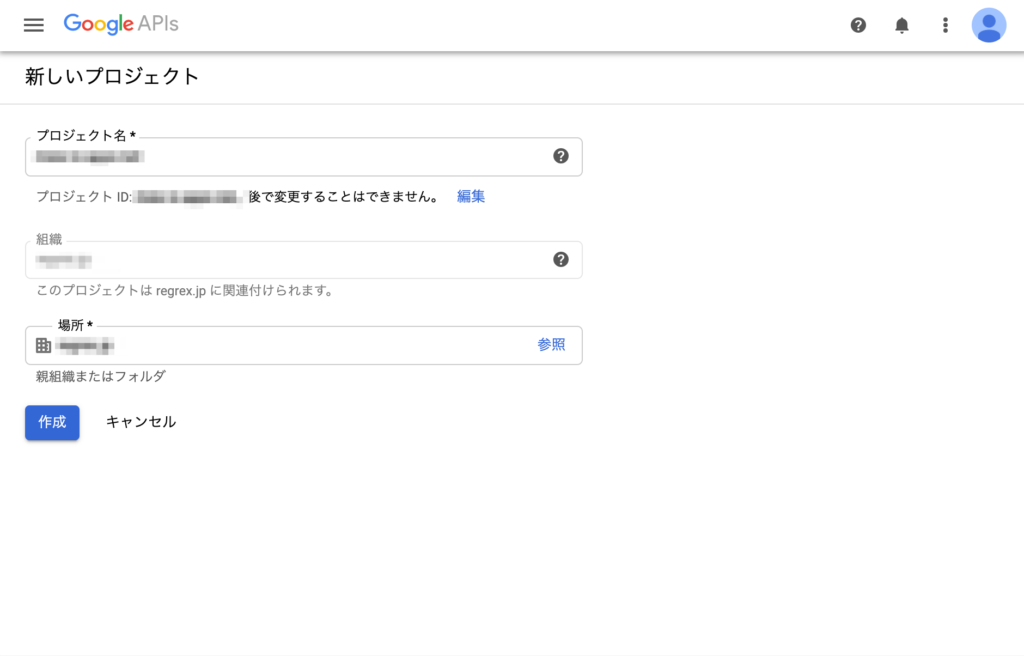
新しいプロジェクトをクリック

プロジェクト名など入力して作成ボタンクリック
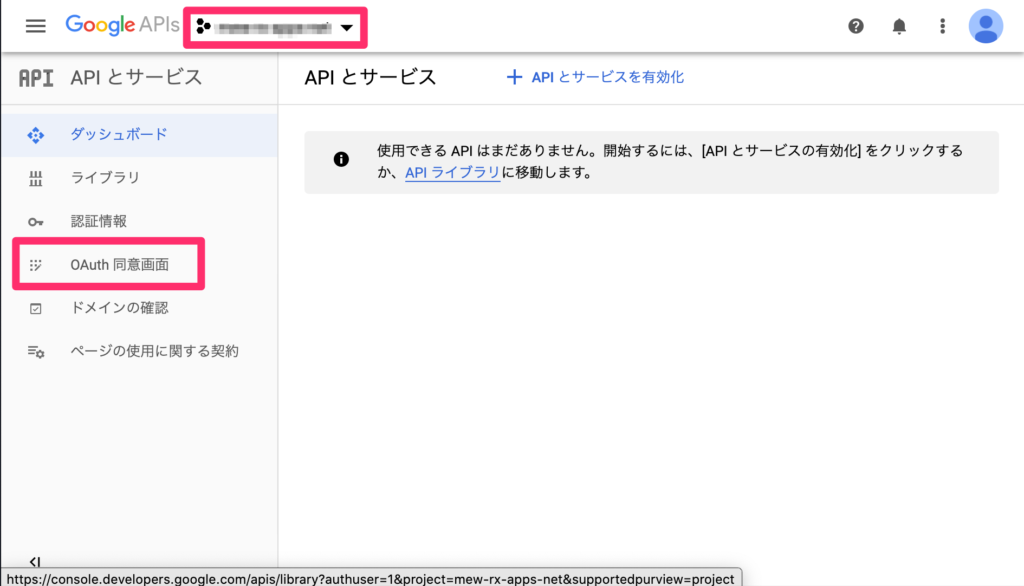
さっき作成したプロジェクトに変更して、
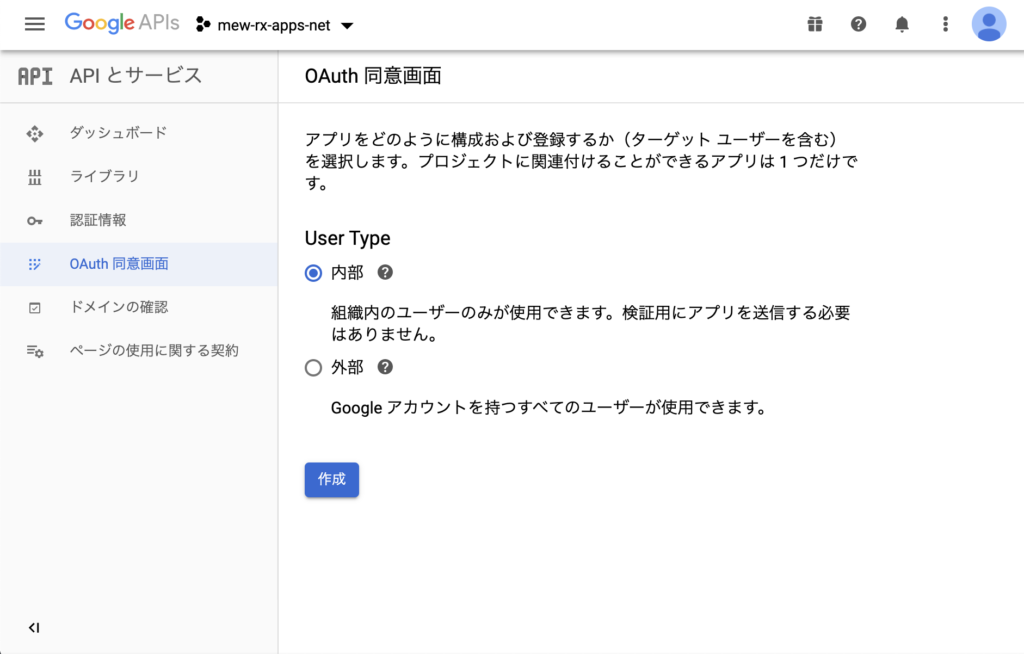
OAuth同意画面(画面に画面ってGoogleらしくないな)をクリック。
User Type は 外部のGoogleアカウントは使う必要がないので、「内部」を選択して作成ボタンをクリック
アプリケーション名やら承認済みドメインやらを入力して作成する。
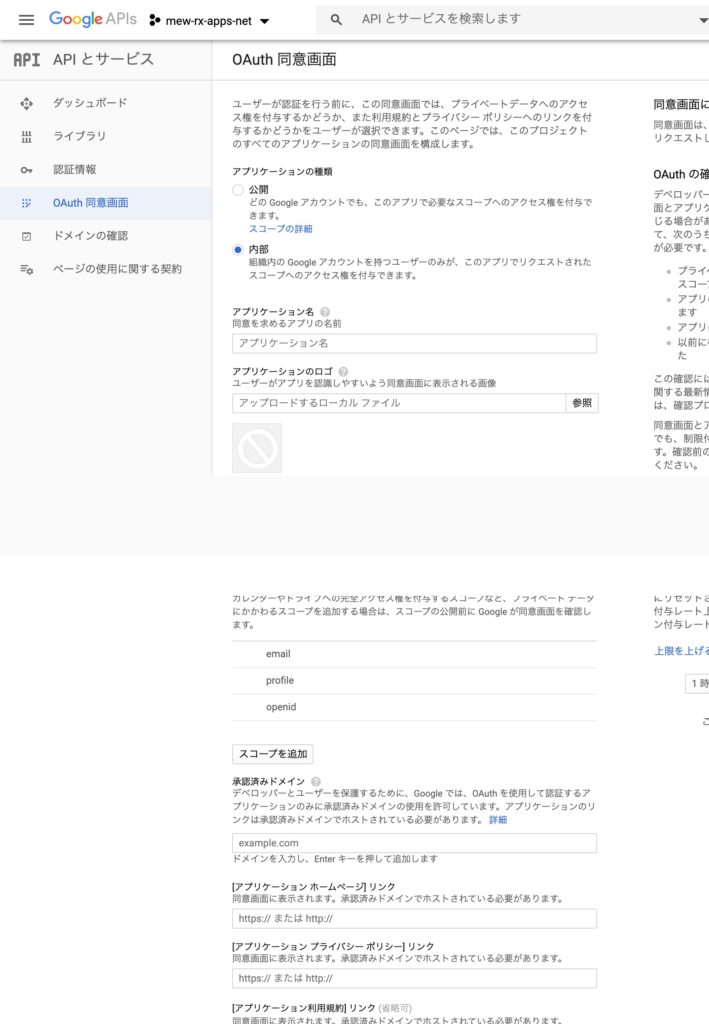
出来上がり!
認証情報→認証情報を作成→OAuthクライアントID をクリック
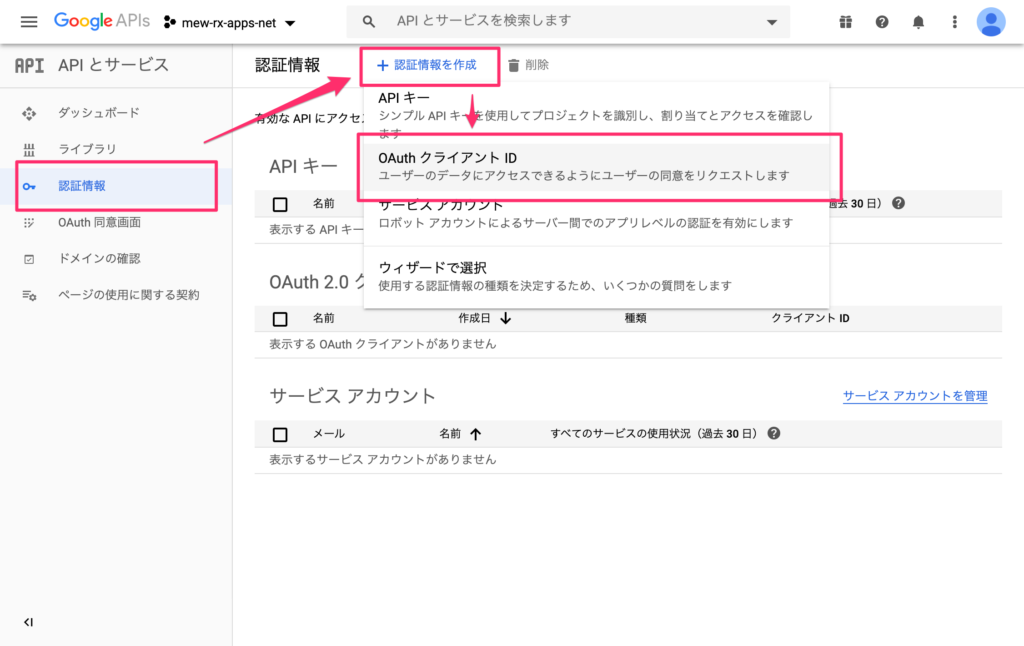
- アプリケーションの種類:ウェブアプリケーション
- 名前:GitLab(識別できればなんでもよい)
- 承認済みのリダイレクトURI:https://<your domain>/users/auth/google_oauth2/callback
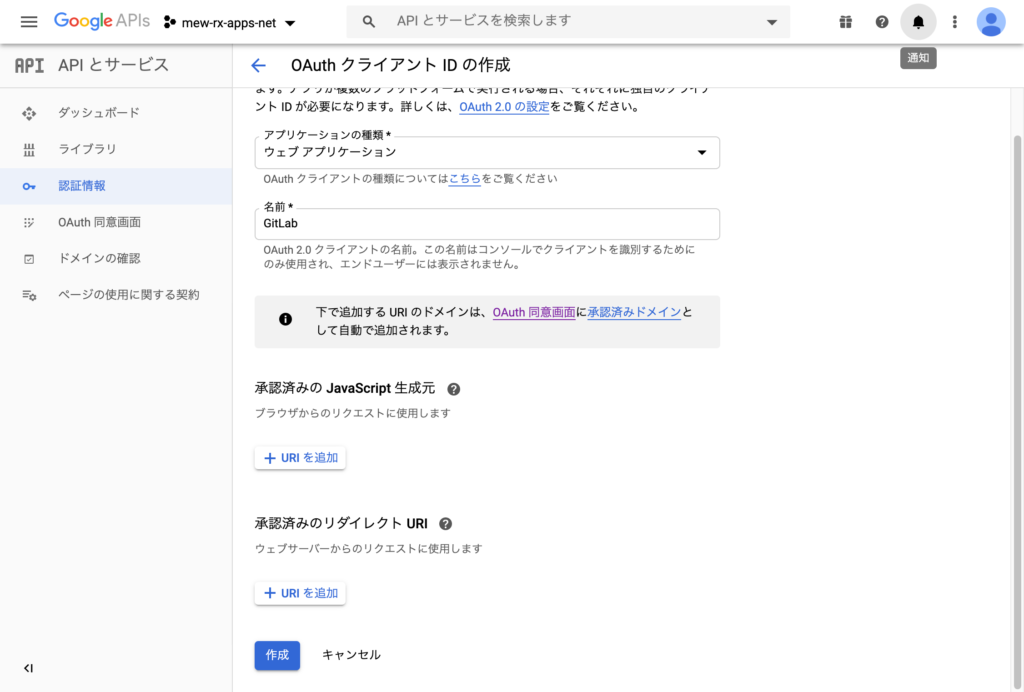
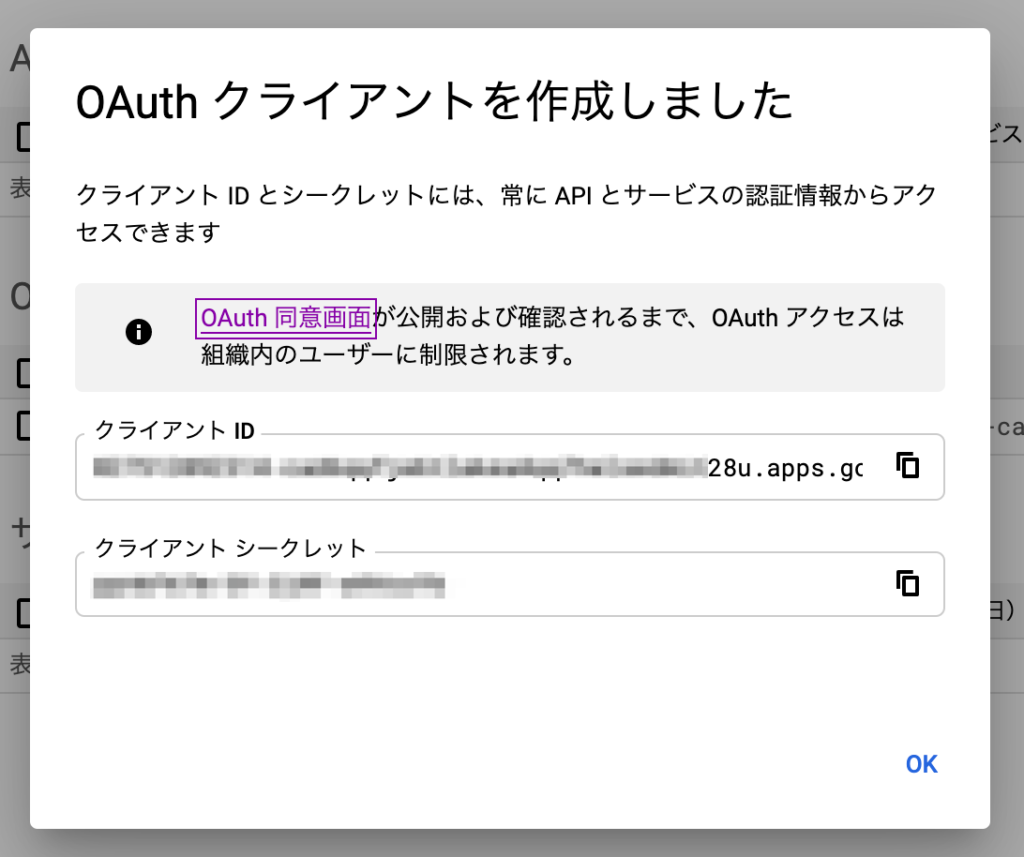
これで、完成!
GitLab側でクライアントIDとクライアントシークレットを使う。
GitLabを設定
SSHでGitLabサーバに接続
設定ファイルを編集
$ sudo vim /etc/gitlab/gitlab.rb
---
< 省略 >
### OmniAuth Settings
###! Docs: https://docs.gitlab.com/ce/integration/omniauth.html
# gitlab_rails['omniauth_enabled'] = false
gitlab_rails['omniauth_enabled'] = true
# gitlab_rails['omniauth_allow_single_sign_on'] = ['saml']
gitlab_rails['omniauth_allow_single_sign_on'] = ['google_oauth2']
# gitlab_rails['omniauth_sync_email_from_provider'] = 'saml'
# gitlab_rails['omniauth_sync_profile_from_provider'] = ['saml']
# gitlab_rails['omniauth_sync_profile_attributes'] = ['email']
# gitlab_rails['omniauth_auto_sign_in_with_provider'] = 'saml'
# gitlab_rails['omniauth_block_auto_created_users'] = true
# gitlab_rails['omniauth_auto_link_ldap_user'] = false
# gitlab_rails['omniauth_auto_link_saml_user'] = false
# gitlab_rails['omniauth_external_providers'] = ['twitter', 'google_oauth2']
gitlab_rails['omniauth_external_providers'] = ['google_oauth2']
# gitlab_rails['omniauth_providers'] = [
#   {
#     "name" => "google_oauth2",
#     "app_id" => "YOUR APP ID",
#     "app_secret" => "YOUR APP SECRET",
#     "args" => { "access_type" => "offline", "approval_prompt" => "" }
#   }
# ]
gitlab_rails['omniauth_providers'] = [
  {
    "name" => "google_oauth2",
    "app_id" => "xxxxxxx8u.apps.googleusercontent.com",
    "app_secret" => "xxxxxxxx",
    "args" => { "access_type" => "offline", "approval_prompt" => "" }
  }
]
< 省略 >
---
$ sudo gitlab-ctl reconfigure
app_id と app_secret は、Googleから払い出されたものを使用する。
reconfigureは少し時間がかかる…
GitLab側はこれで終了!
動作確認
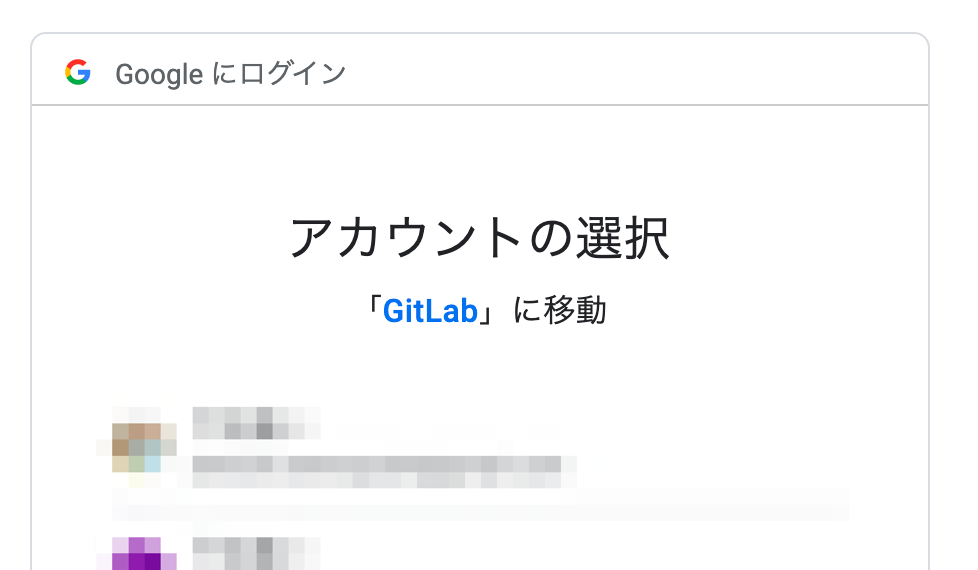
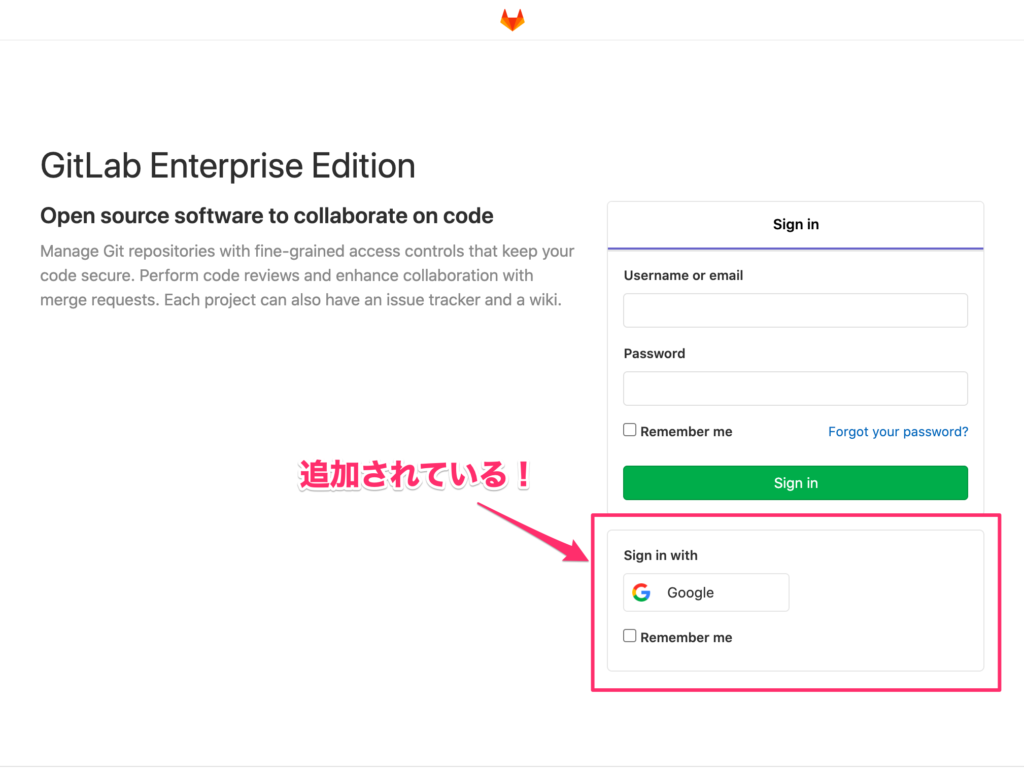
ログイン画面
Googleのボタンが表示されているからOK!
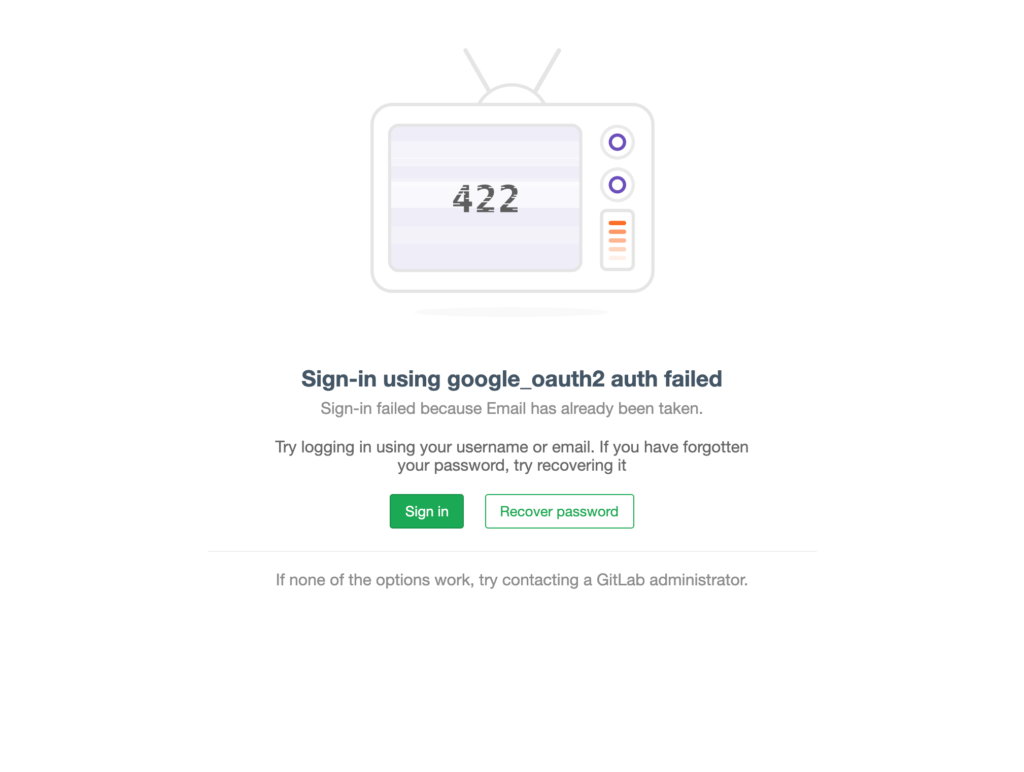
ブラウザ上ではGoogleアカウントでログインしている状態で、クリックするとエラー…
既存ユーザーはGoogleアカウントと紐付けしないといけないか…
普通にメールアドレスをパスワードでログインして、探してみるとあった!
右上のアカウントをクリックして、設定をクリック!
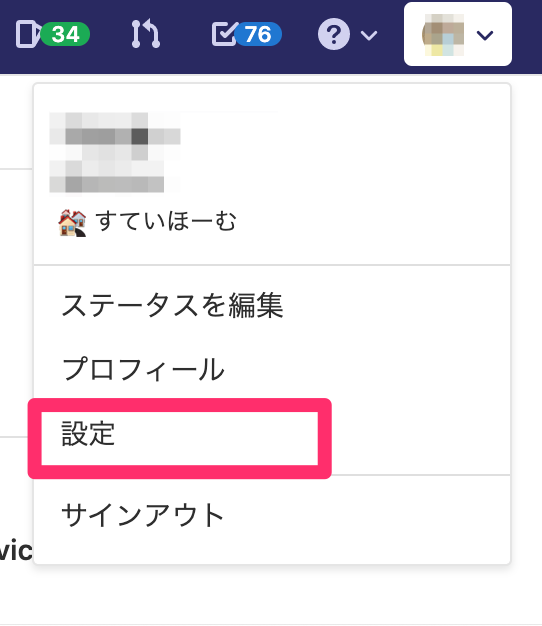
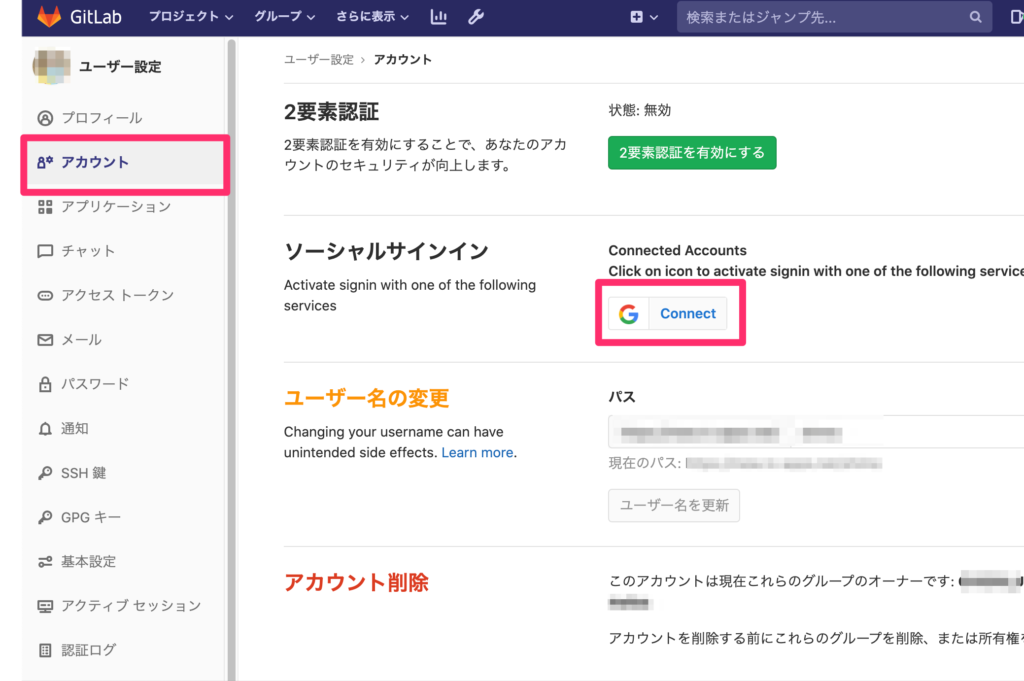
左側で「アカウント」を選択して、ソーシャルサインインの「Connect」ボタンクリック。
Googleの認証画面を経て、紐付けされるとこんな感じになる。

紐付け先のアカウトが組織外(ドメインが違う)ならどうなるの?
→承認エラーになる。OKです。

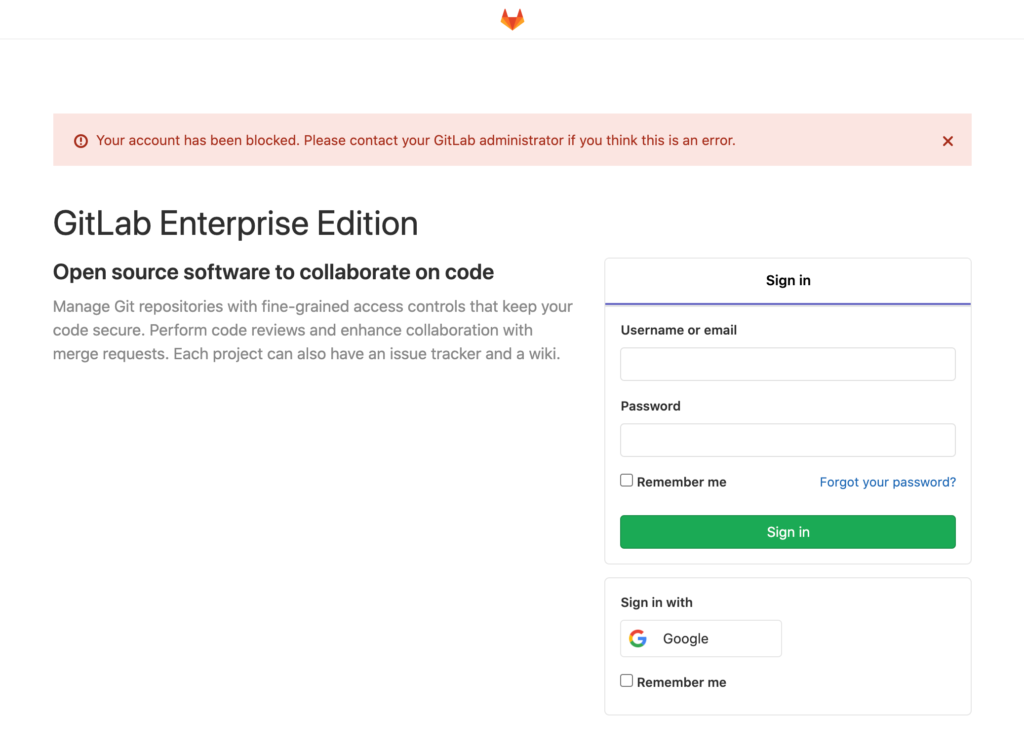
GitLabに登録されていないメールアドレスだとどうなるの?
→GitLabにユーザー登録されているが、ブロック状態で登録されている。正しいユーザーなら管理者でログインして、ブロックを解除してあげる。
まとめ
意外と簡単にGoogle OAuth2認証できたなと思う。
これで少しは楽になるなぁ。
あとは、Wordpressと社内システムに導入すれば結構いい感じで楽になりそうな予感。


コメント