
はじめに
Microsoft公式のRunbook「Start Azure V2 VMs」を使っていたんだけど、どうも実行アカウントは廃止されてマネージドIDに置き換えられるとかで実行アカウントの証明書が30日しかなく、方法を変える必要があった。

Azure Automation 実行アカウントは、2023 年 9 月 30 日に廃止され、マネージド ID に置き換えられます。2023 年 9 月 30 日以前にマネージド ID を使用するには、Runbook の移行を開始する必要があります。さらに、2023 年 4 月 1 日以降、新しい実行アカウントを作成することはできません。詳細については、次を参照してください 既存の実行アカウントからマネージド ID に移行しています。
そういうことで、以下を参考にしながら、再度設定をしなおしてみる。
https://blog.opening-line.jp/%E8%A8%98%E4%BA%8B%E4%B8%80%E8%A6%A7/azure-virtual-machines%E3%81%AE%E8%87%AA%E5%8B%95%E8%B5%B7%E5%8B%95%E3%81%A8%E8%87%AA%E5%8B%95%E5%81%9C%E6%AD%A2
自動シャットダウン
VMの設定に用意されているので省略。
自動起動
シャットダウンはカタカナなのに起動は日本語なのね。カタカナだとスタートアップとか?まぁどうでもいが。
Automatonアカウントを追加
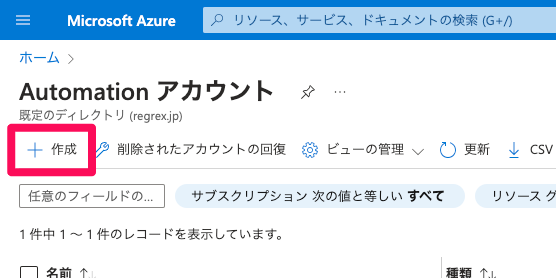
「追加」をクリック
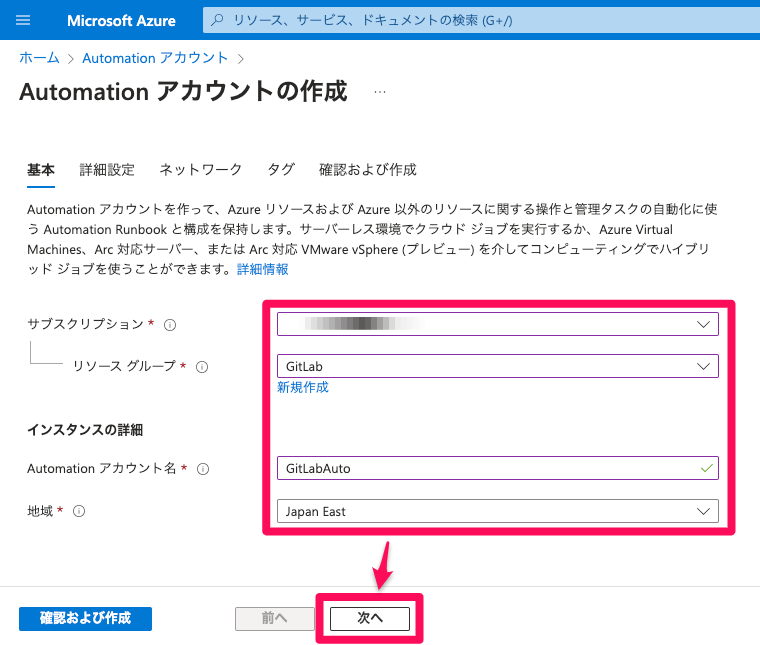
基本タブのところで、サブスクリプションやら入力して次へをクリック
私の場合は、GitLabサーバなので、リソースグループは「GitLab」、Automatonアカウント名は「GitLabAuto」とした。地域はデフォルトで選択されていた「Japan East」とした。VMも「Japan East」に置いているからそこでいいでしょう。
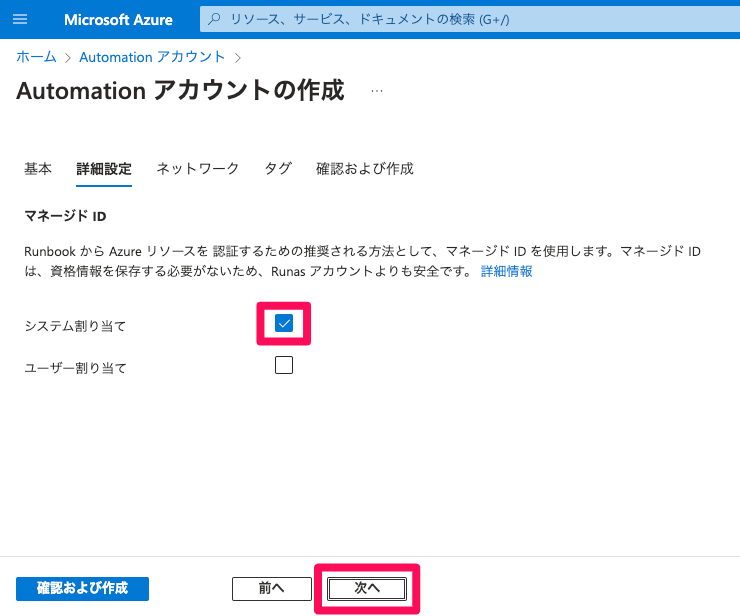
「システム割り当て」にチェックが入っている状態(デフォルトでそうなってる)で、「次へ」をクリック
(マネージドIDの下にある文章と画面内の文言が紐づいていないから何書いてるかさっぱりわからんわ…)
「パブリック アクセス」のままではなんとなくいい気分はしないが、デフォルトが「パブリック アクセス」だからそのままで「次へ」をクリック
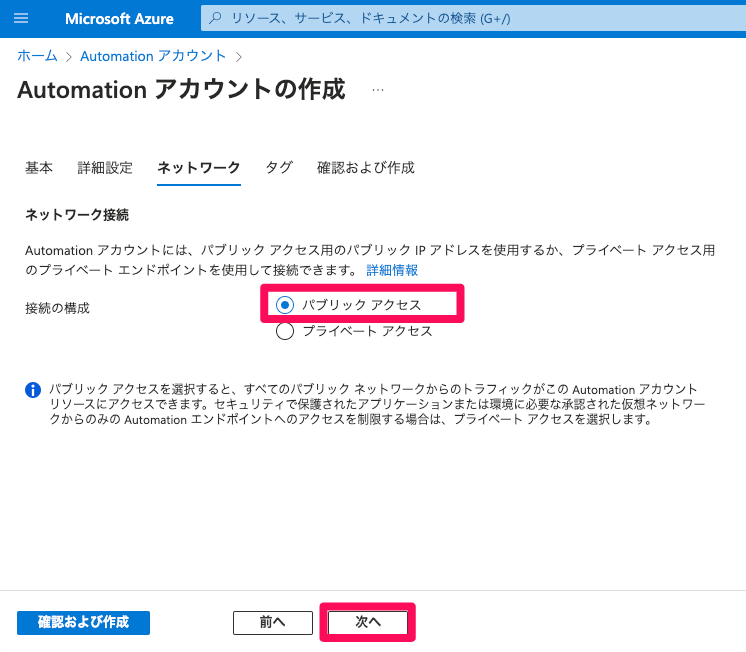
タグはとりあえず設定する必要はないと思うから「次へ」をクリック

内容を確認して「作成」をクリック
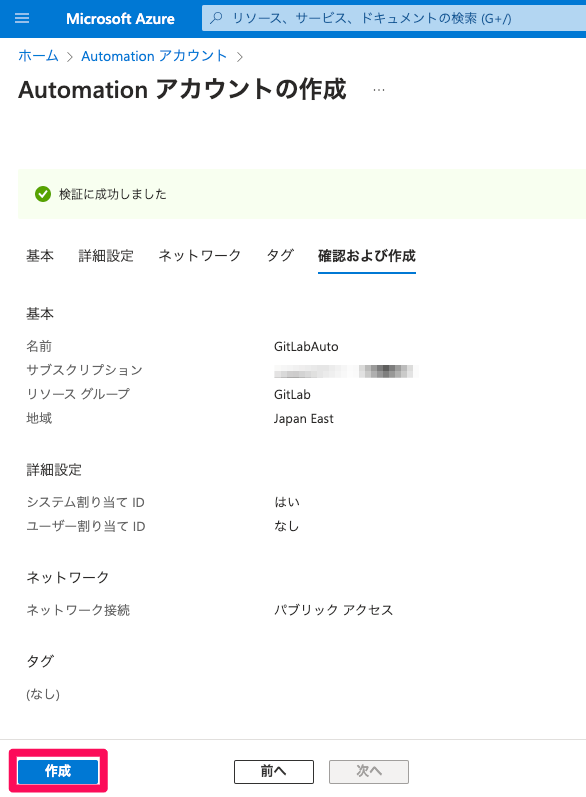
デプロイが行われ、完了したら「リソースへ移動」をクリック

ロールの設定
カスタムロールのjsonファイルをローカルに保存
{
"properties": {
"roleName": "StartStopVM",
"description": "Custom role to read/start/stop a VM",
"assignableScopes": [],
"permissions": [{
"actions": [
"Microsoft.Compute/virtualMachines/start/action",
"Microsoft.Compute/virtualMachines/deallocate/action",
"Microsoft.Compute/virtualMachines/read"
],
"notActions": [],
"dataActions": [],
"notDataActions": []
}
]
}
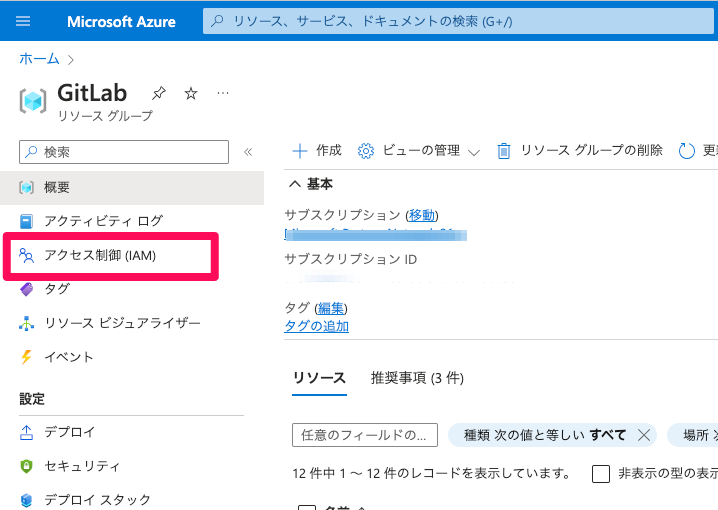
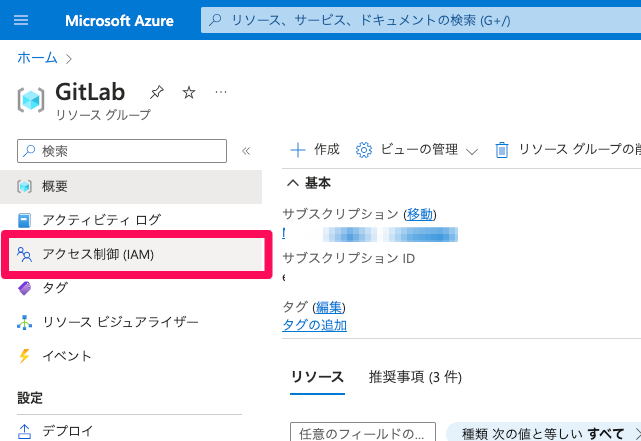
}リソースグループを表示して、「アクセス制御(IAM)」をクリック
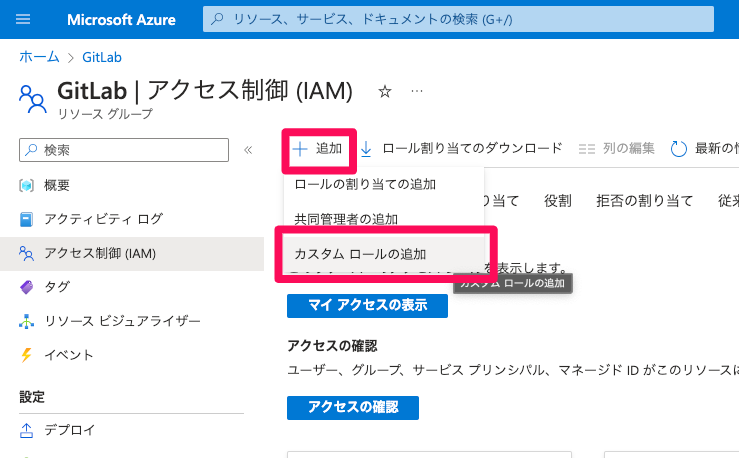
「追加」をクリックして、「カスタムロールの追加」をクリック
「ベースラインのアクセス許可」で「JSONから開始」を選択し、ファイルで先程ローカルに保存したJSONファイルを選択する。そうすると、「カスタムロール名」と「説明」が自動的にセットされる。「次へ」をクリック
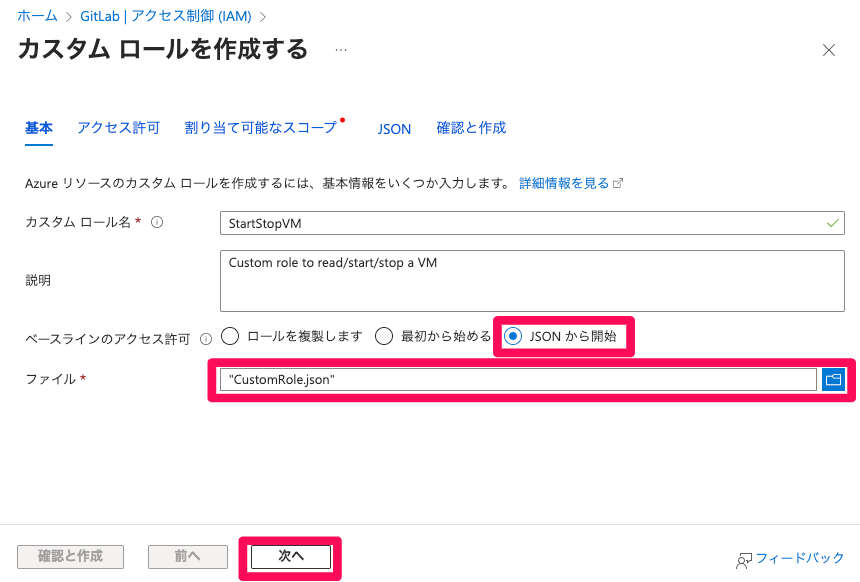
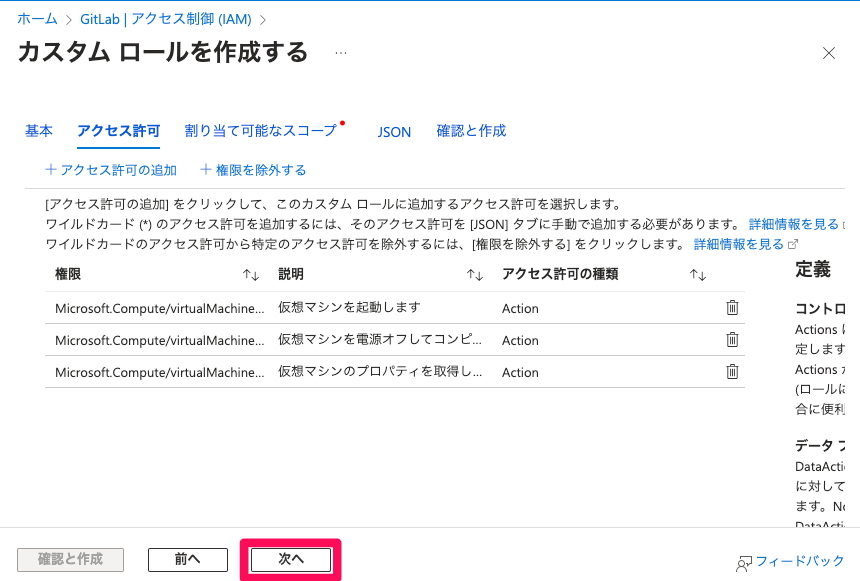
「次へ」をクリック
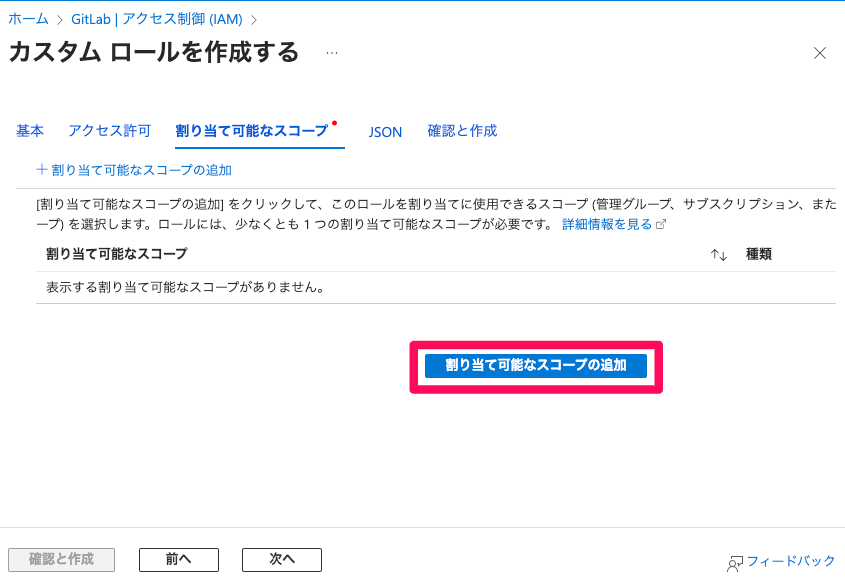
「割り当て可能なスコープの追加」をクリック
左側の「種類」から「リソースグループ」を選択
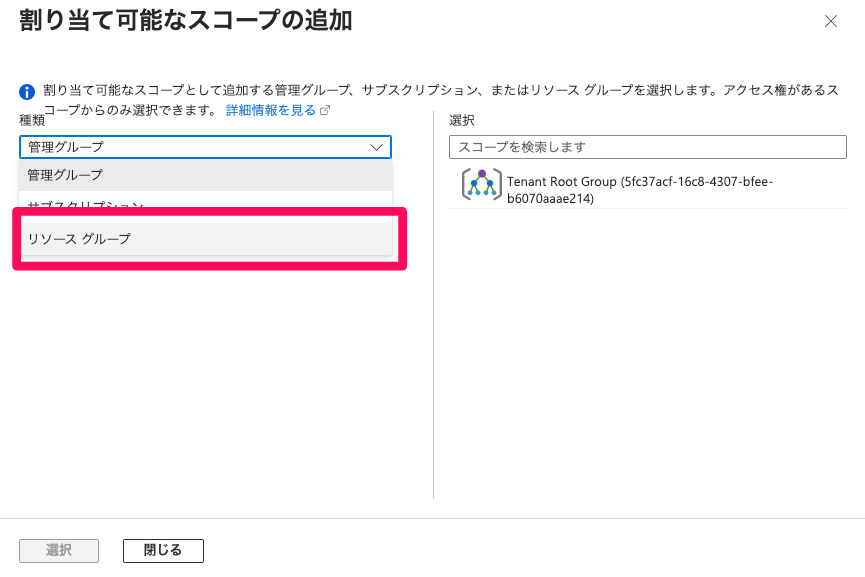
私の場合は、「GitLab」リソースグループを選択
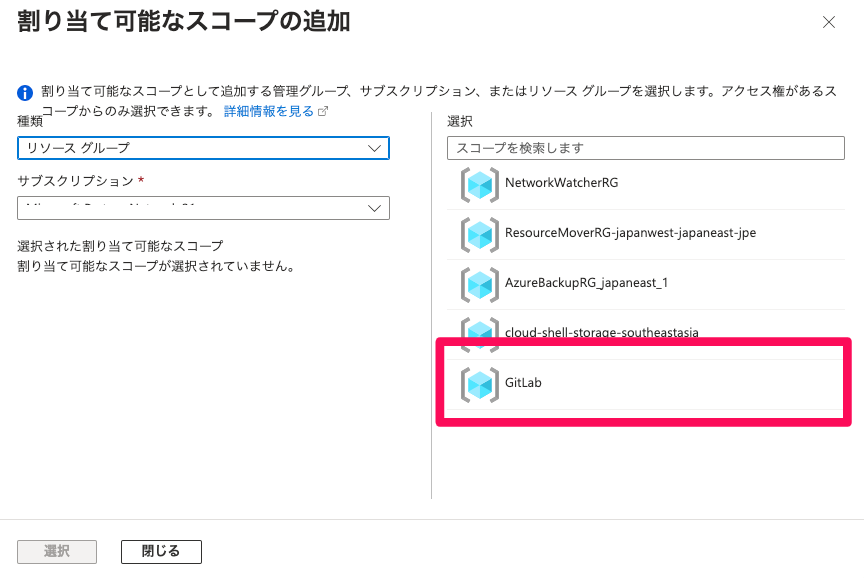
「選択」をクリック

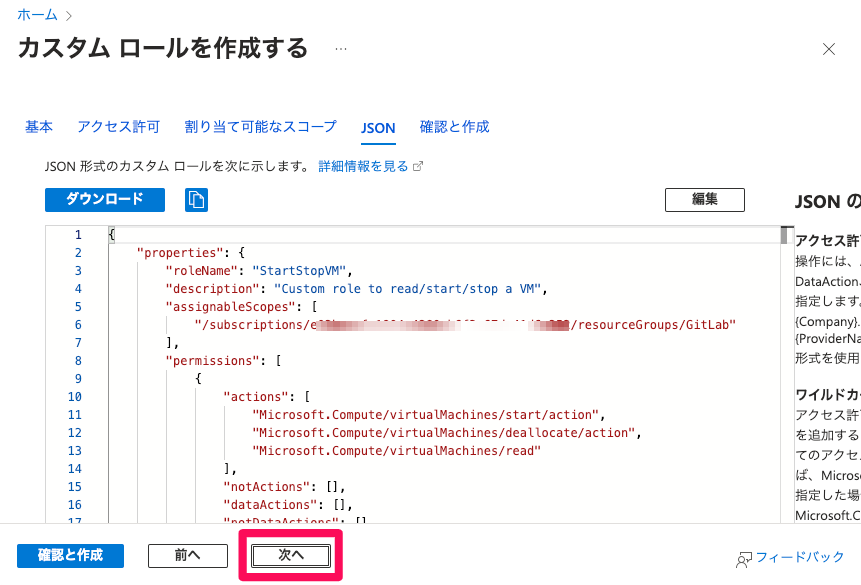
カスタムロールの内容を確認して「次へ」をクリック

JSONの内容を確認して「次へ」をクリック
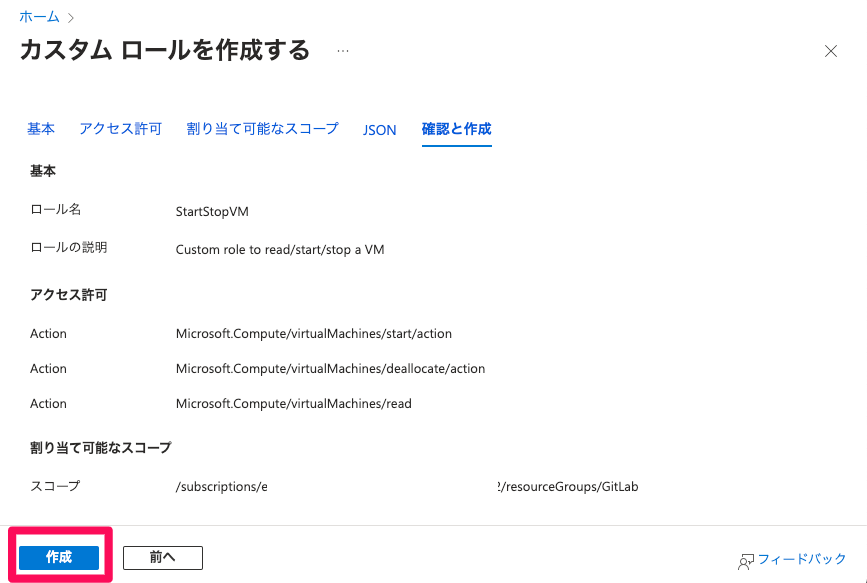
確認と作成の内容を確認して「作成」をクリック
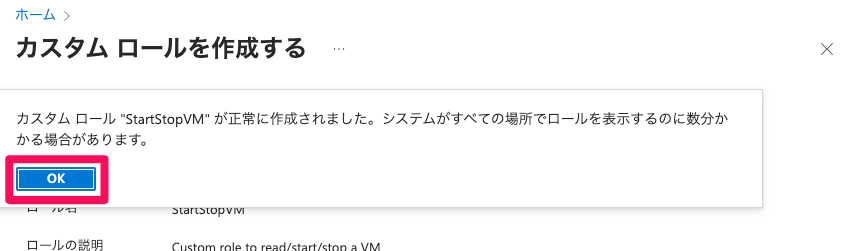
こんなメッセージが出るので「OK」をクリック
再度、リソースグループを表示して「アクセス制御(IAM)」をクリック
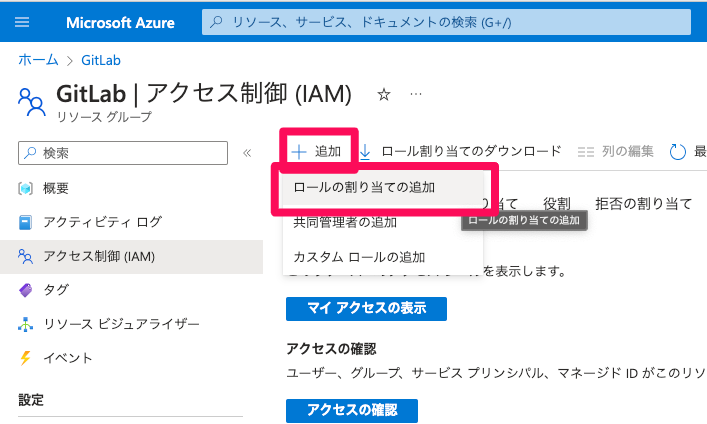
「追加」をクリックして、「ロールの割り当ての追加」をクリック
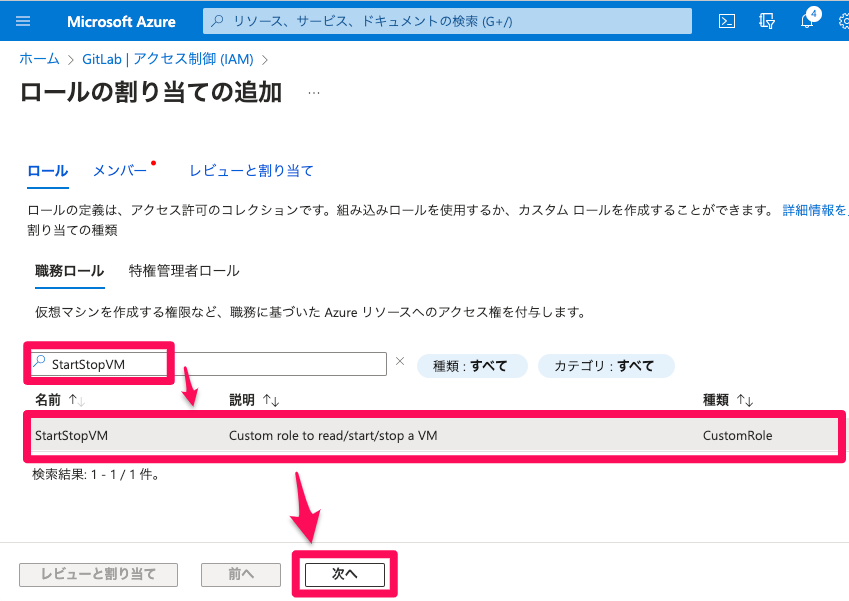
検索テキストボックスに「StartStopVM」と入力すると、一覧に先程作ったロールが表示されるので、一覧で選択して「次へ」をクリック
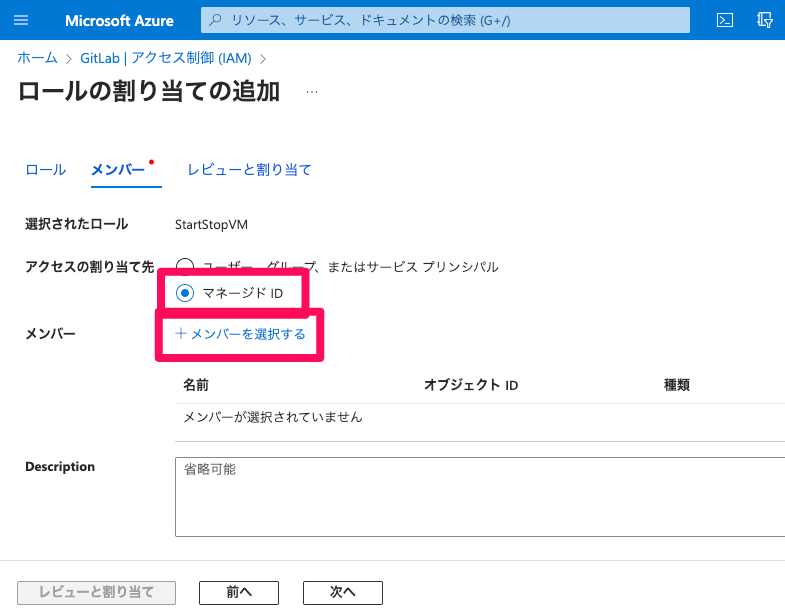
「マネージドID」を選択して「メンバーを選択する」をクリック
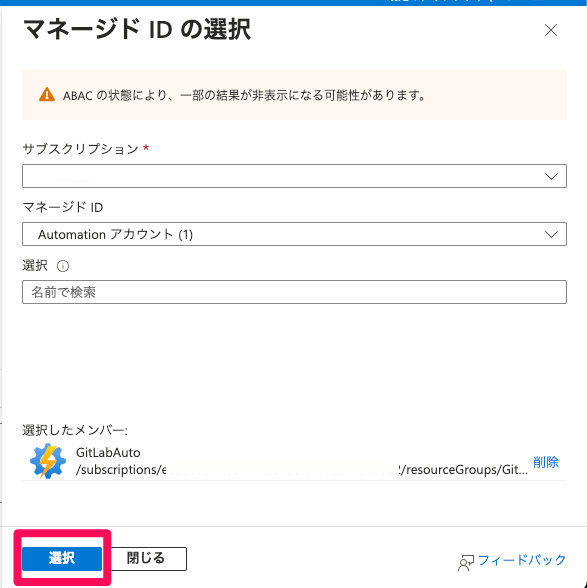
マネージドIDの選択画面が表示されるので、サブスクリプションを選んで、マネージドIDは「Automationアカウント」を選択して、先程作ったAutomationアカウントを選んで、「選択」ボタンをクリック
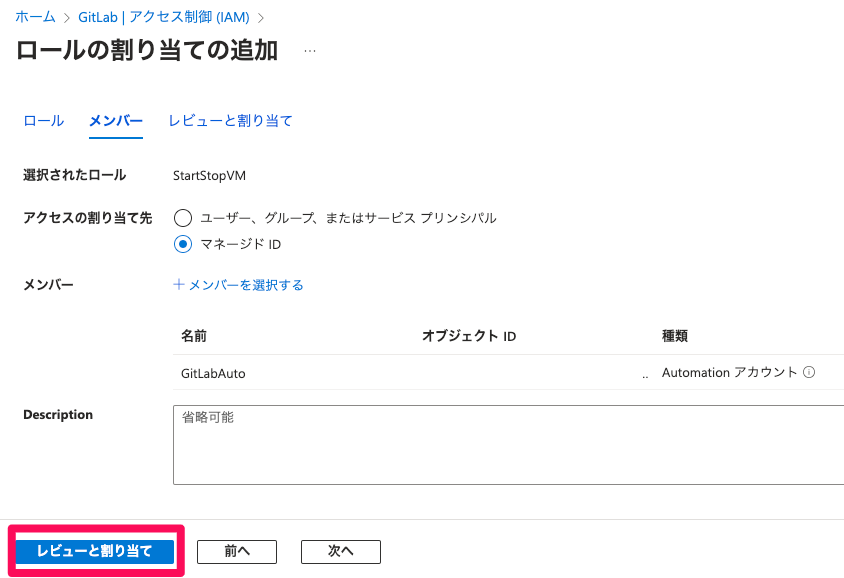
さっき選んだメンバーが追加されるので、「レビューと割り当て」をクリック
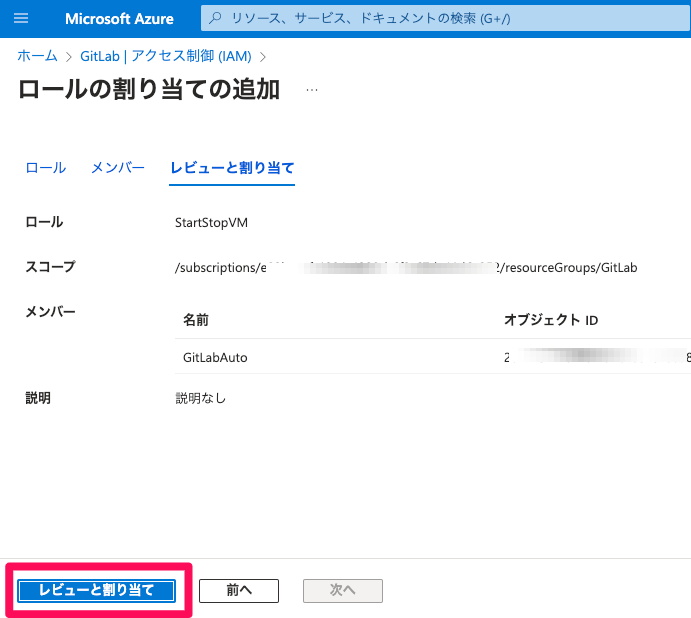
もう一度「レビューと割り当て」をクリック
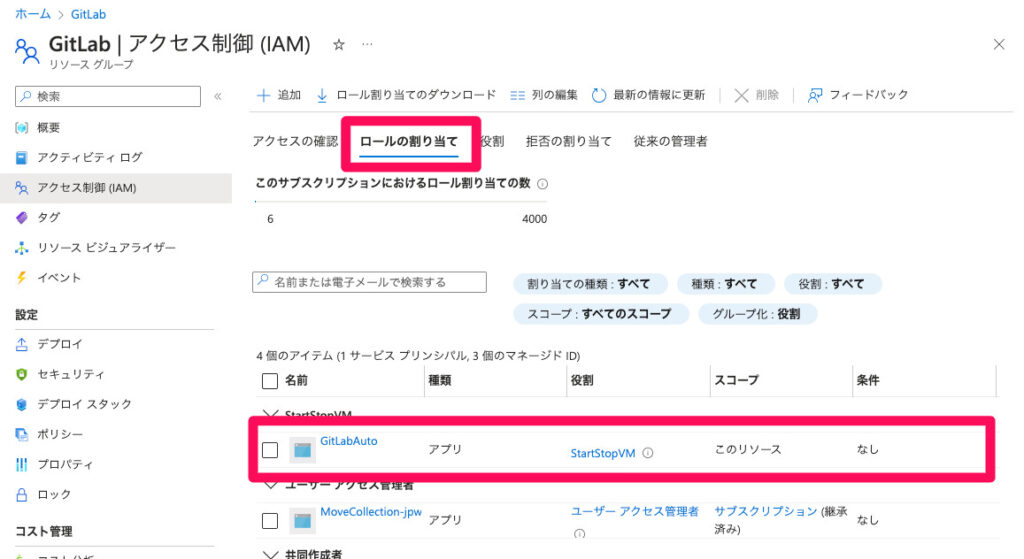
「アクセス制御(IAM)」の「ロールの割り当て」を見ると、先程追加したロールが表示される。
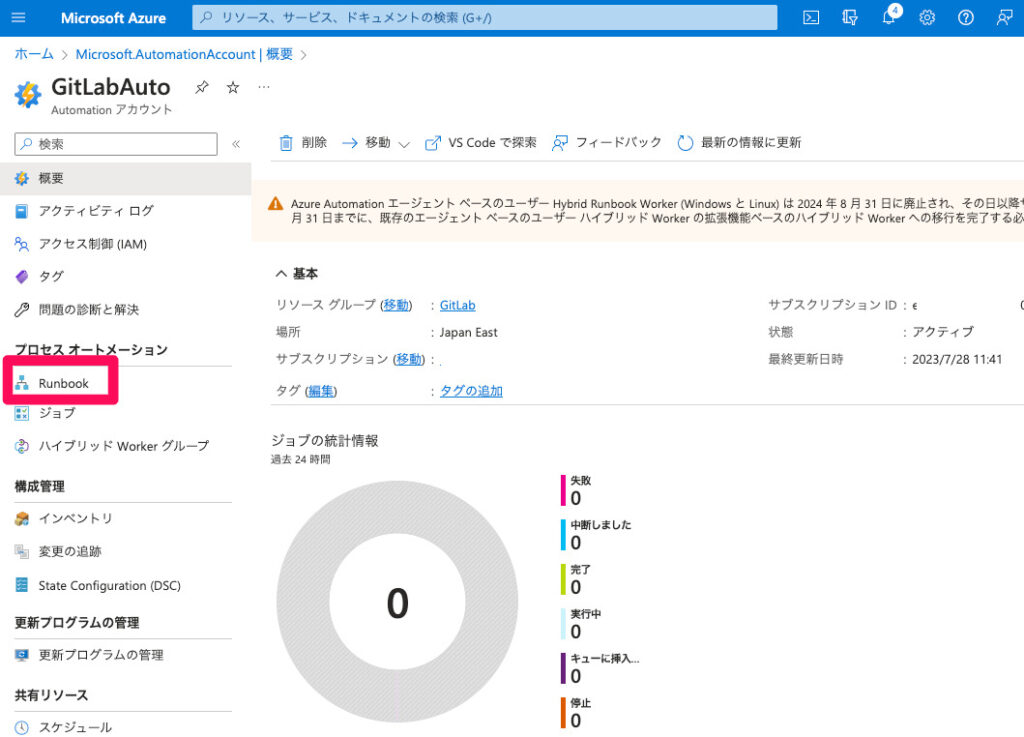
Runbookの作成
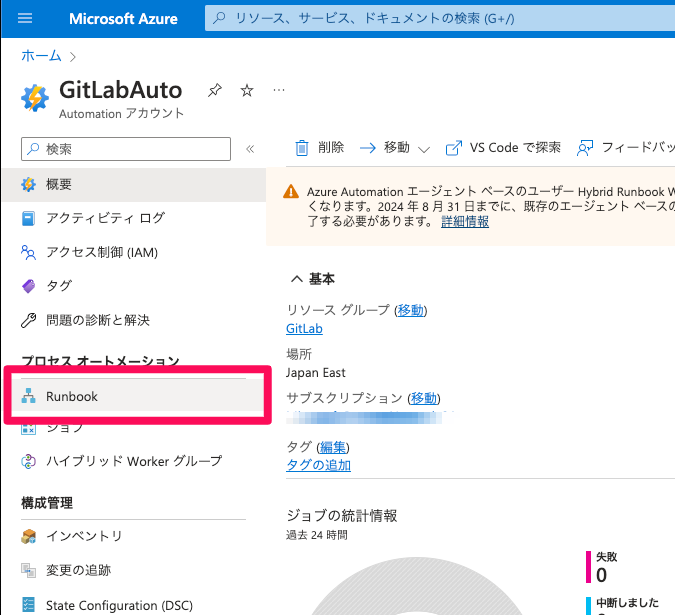
Automationアカウントで「Runbook」をクリック
サンプルかな?Runbookが2つあるので削除する。
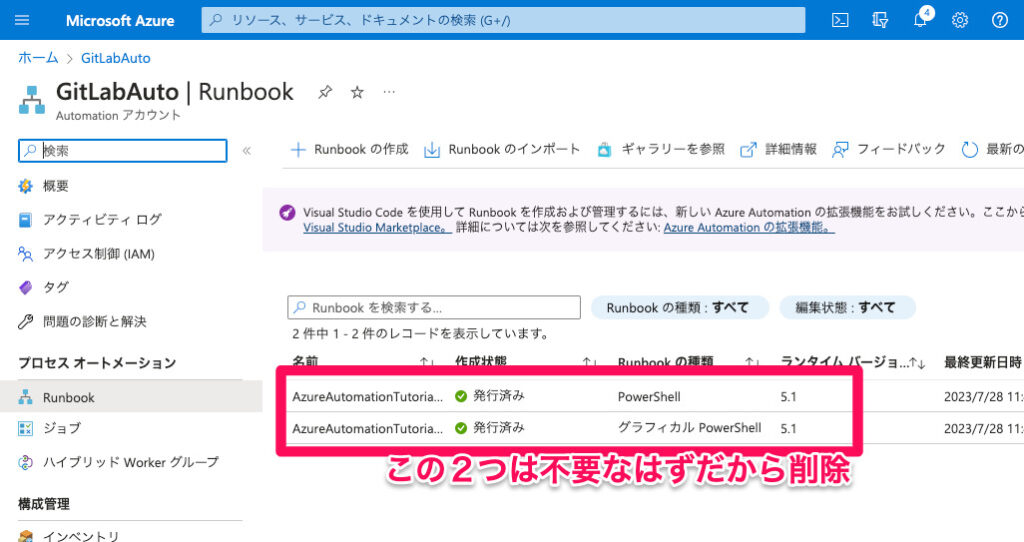
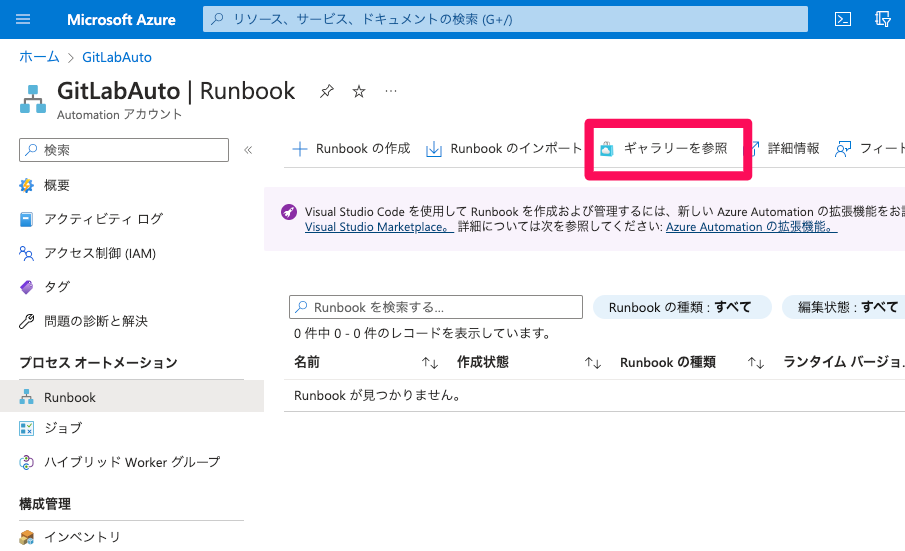
削除できたら「ギャラリーを参照」をクリック
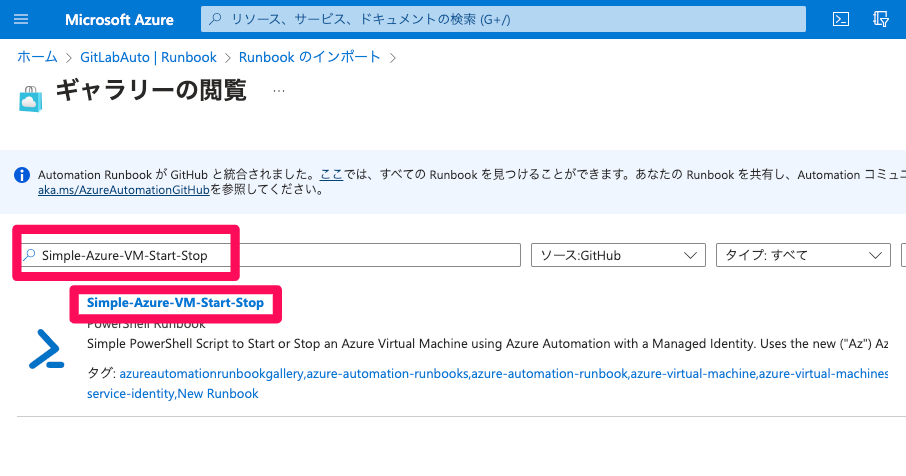
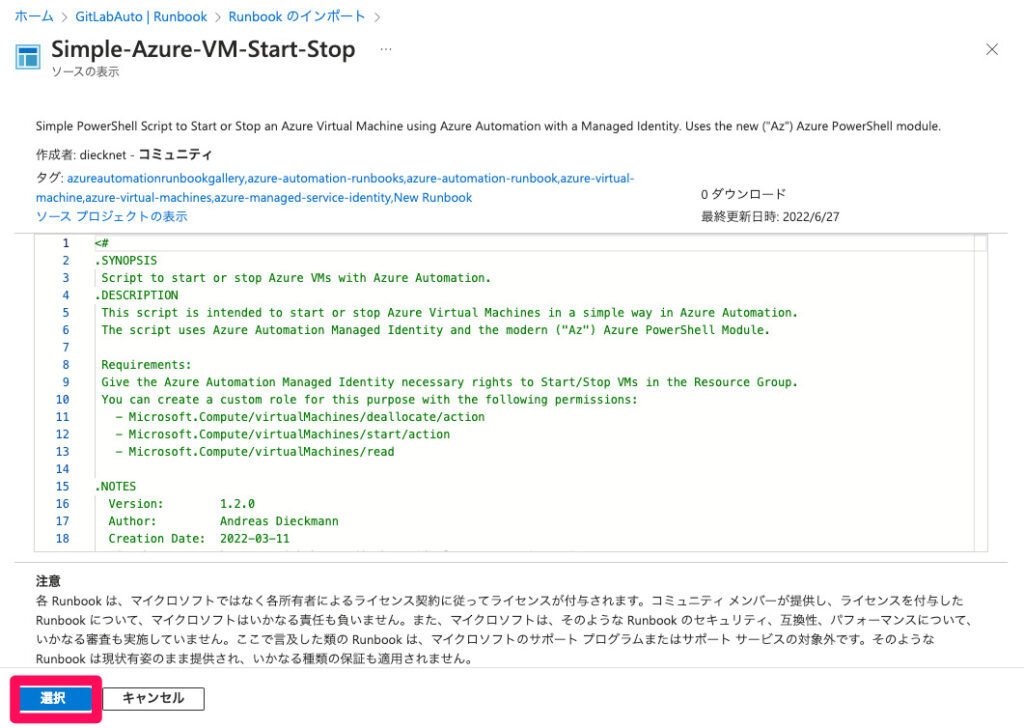
検索テキストボックスに「Simple-Azure-VM-Start-Stop」を入力してエンターを押すと、一覧に出てくるので、そのリンクをクリック
詳細の画面下部、「選択」をクリック
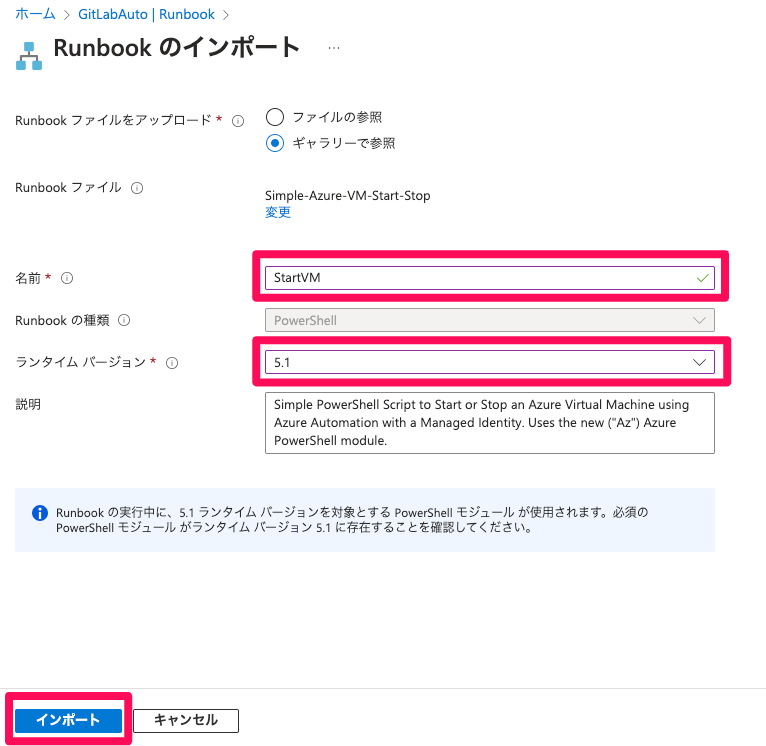
名前を適当につけて、ランタイムバージョンを「5.1」に変更して、「インポート」をクリック
Runbookのテスト
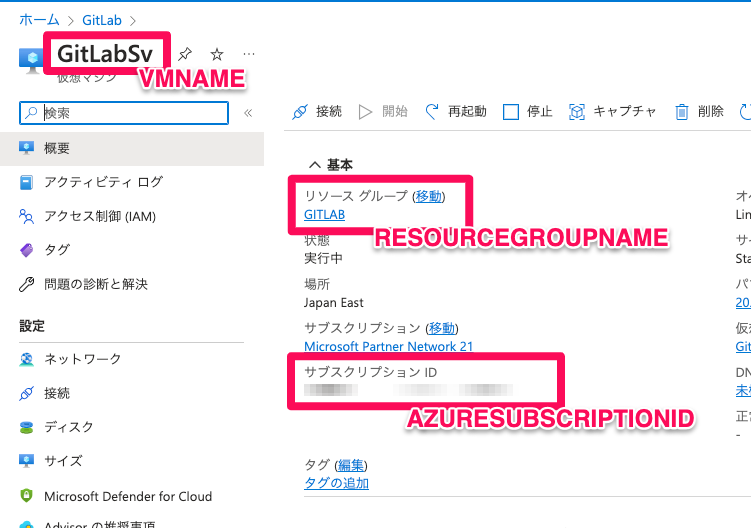
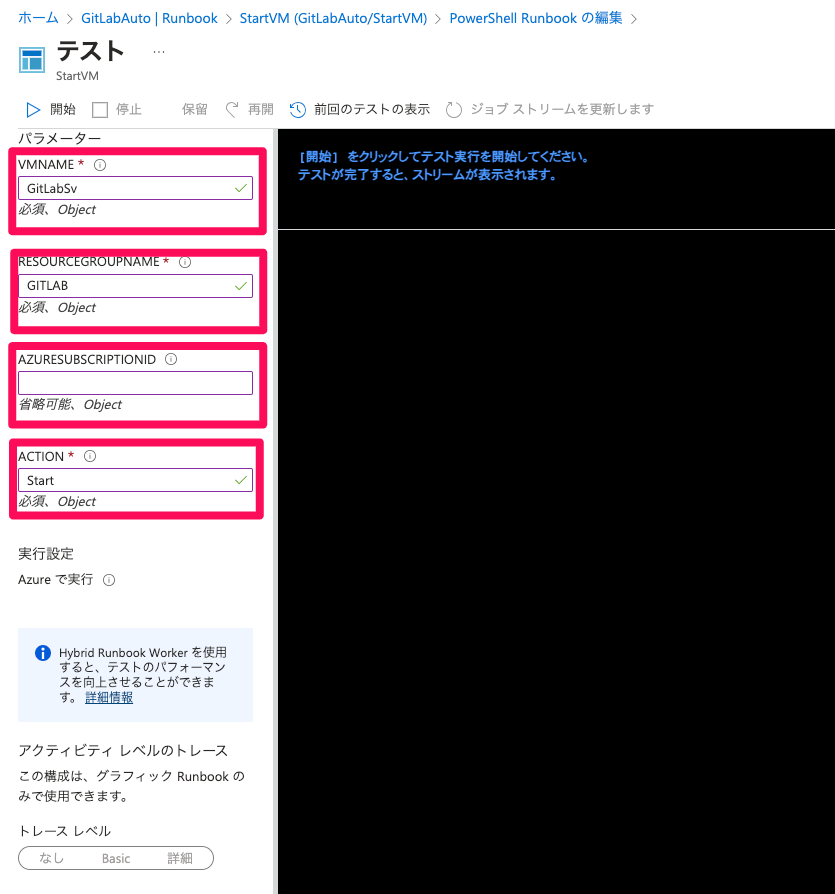
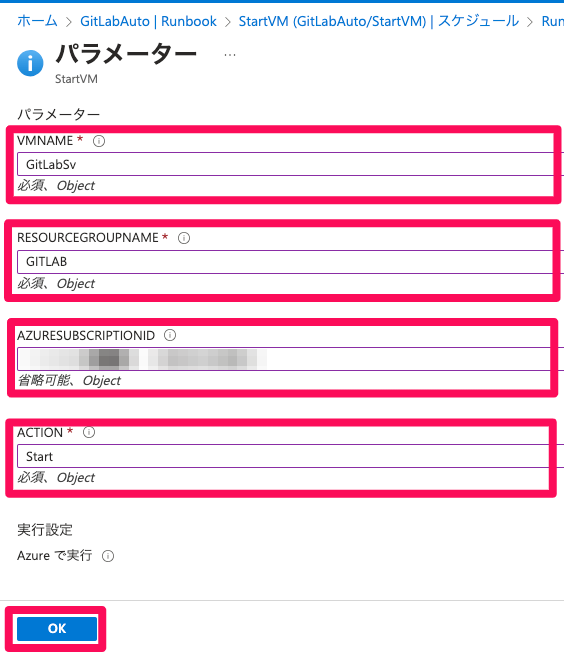
テストに必要なパラメータは起動したい仮想マシンを概要にある。
- VMNAME:画面上部の仮想マシン名(私の場合、「GitLabSv」)
- RESOURCEGROUPNAME:リソースグループのところ(私の場合、「GITLAB」)
- AZURESUBSCRIPTIONID:サブスクリプションIDのところ
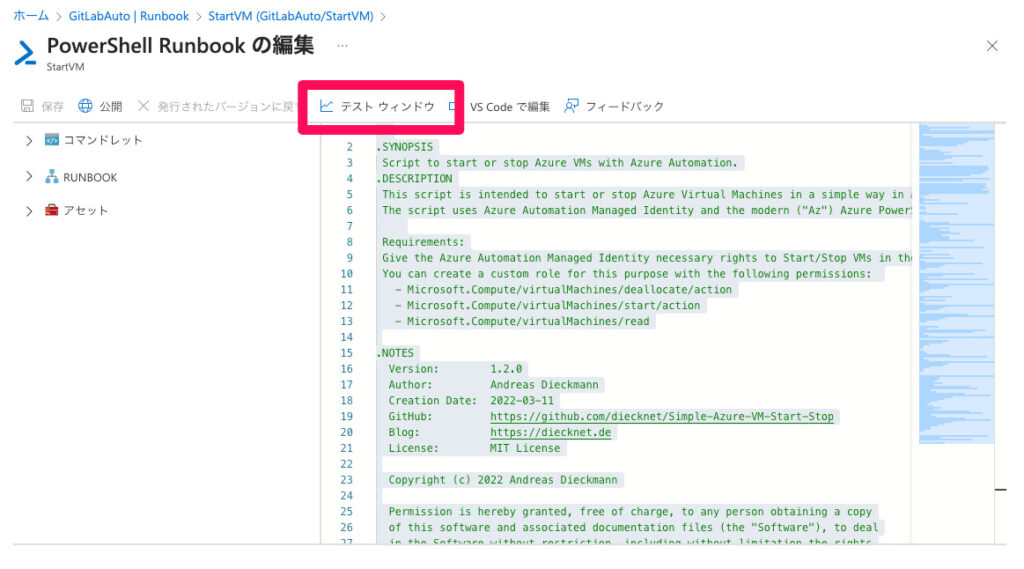
PowerShell Runbook の編集 画面を表示して「テスト ウィンドウ」をクリック
先程メモしておいたパラメータを入力する。「ACTION」には「Start」と入力
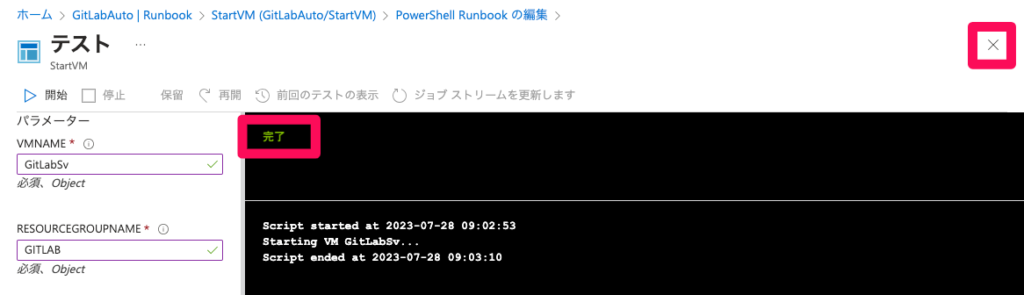
「開始」をクリックする。(少し時間がかかる…)待っていると「完了」と表示されるので、右上の「×」ボタンをクリックして閉じる。
Runbookを公開する。
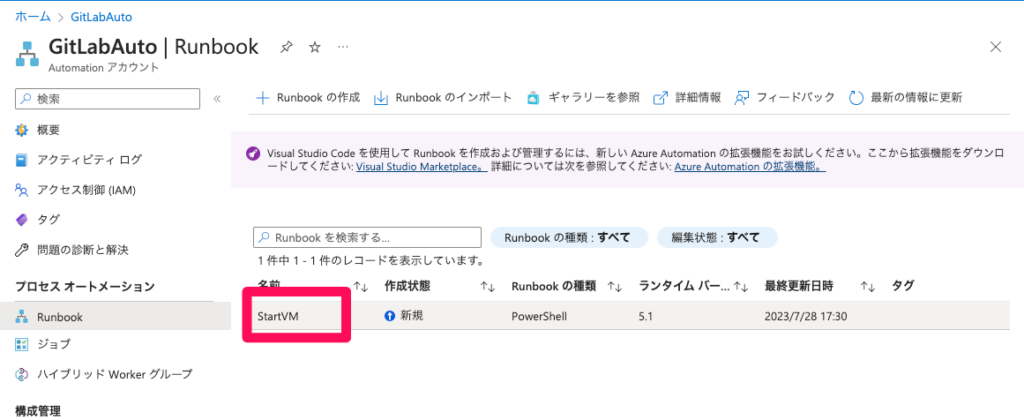
Automationアカウントから、「Runbook」をクリック
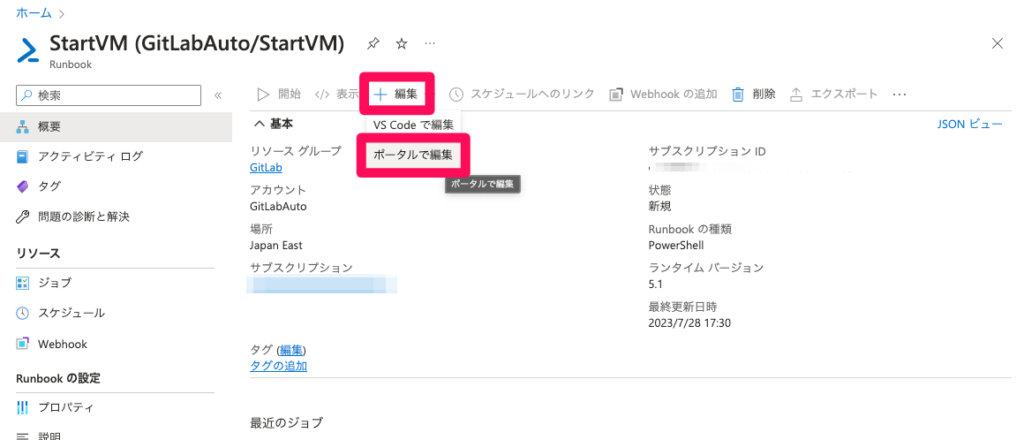
さっき作った「StartVM」をクリック
「編集」をクリックして「ポータルで編集」をクリック
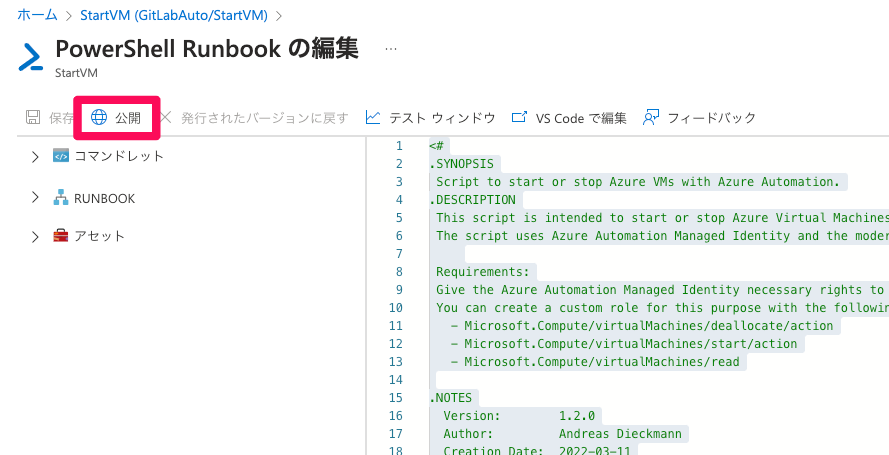
「公開」をクリック
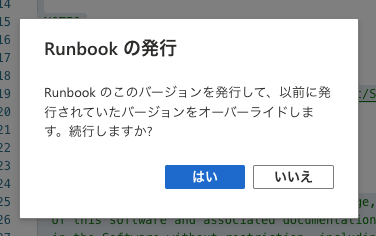
確認メッセージで「はい」をクリック
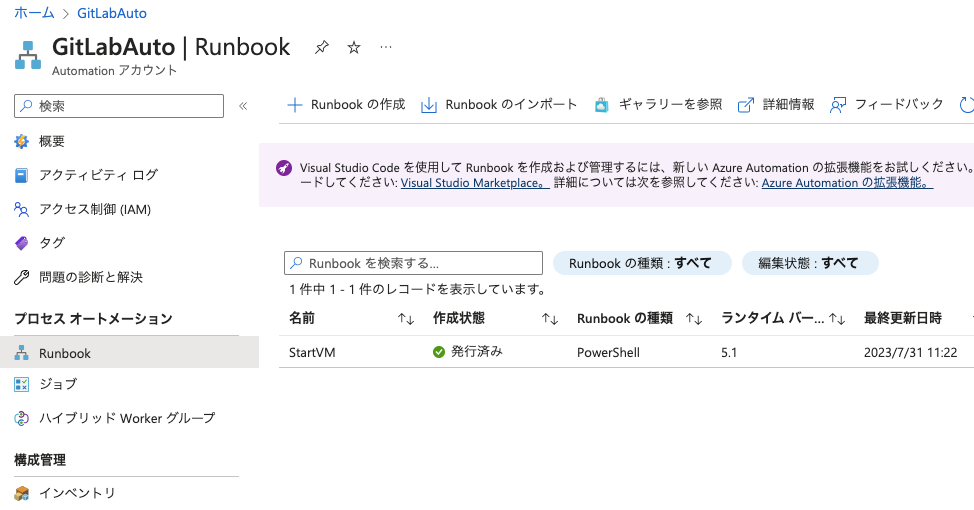
Runbookの概要画面に戻るのが、Automationアカウントから、「Runbook」をクリック
「作成状態」が「新規」から「発行済み」となる。
スケジュール
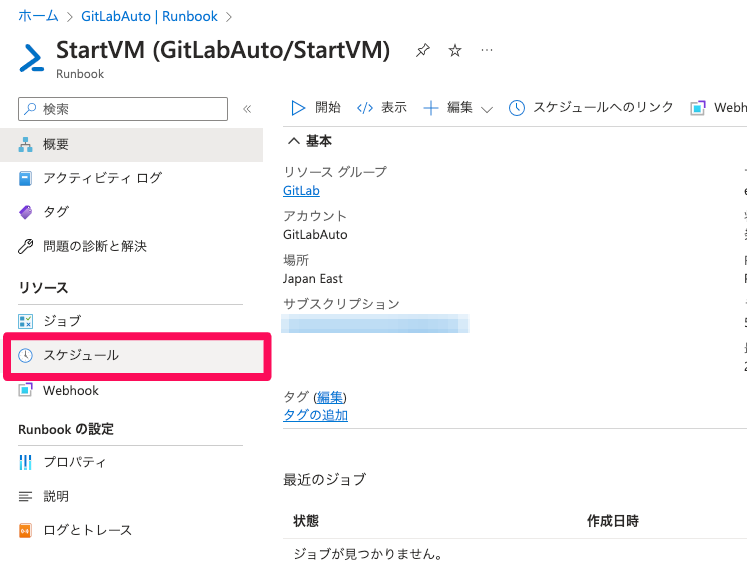
「StartVM」を開いて、「スケジュール」をクリック
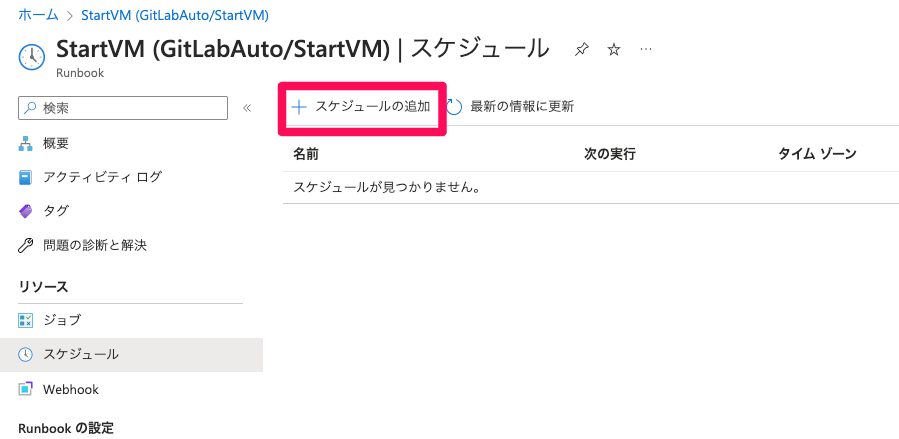
「スケジュールの追加」をクリック
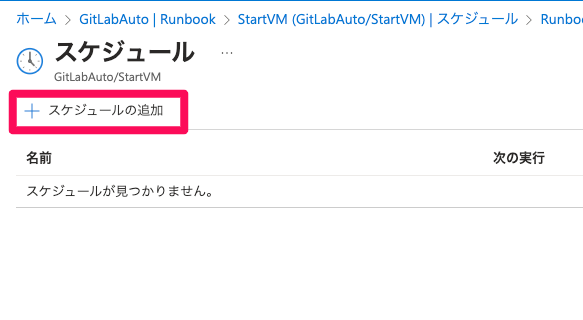
「スケジュールをRunbookにリンクします」をクリック

「スケジュールの追加」をクリック
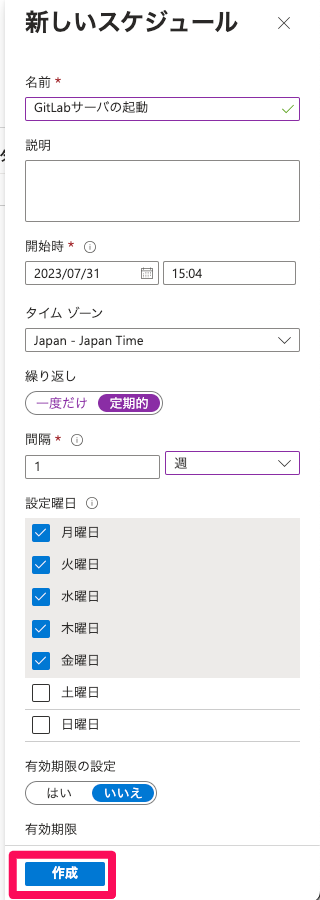
名前や繰り返し間隔(私の場合は土日は起動しない)を設定して「作成」をクリック
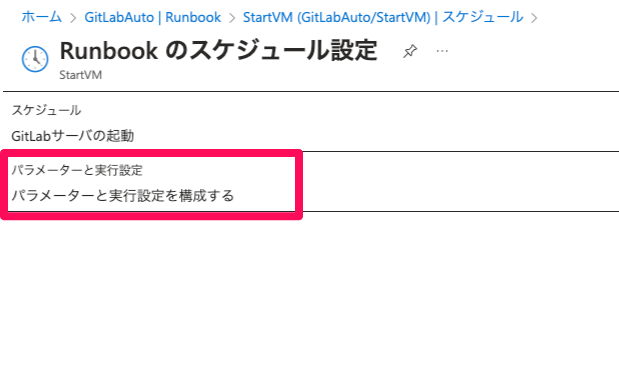
スケジュール設定の戻ってくるので、「パラメーターと実行設定を構成する」をクリック
テスト時に使用したパラメータを入力して、「OK」をクリック
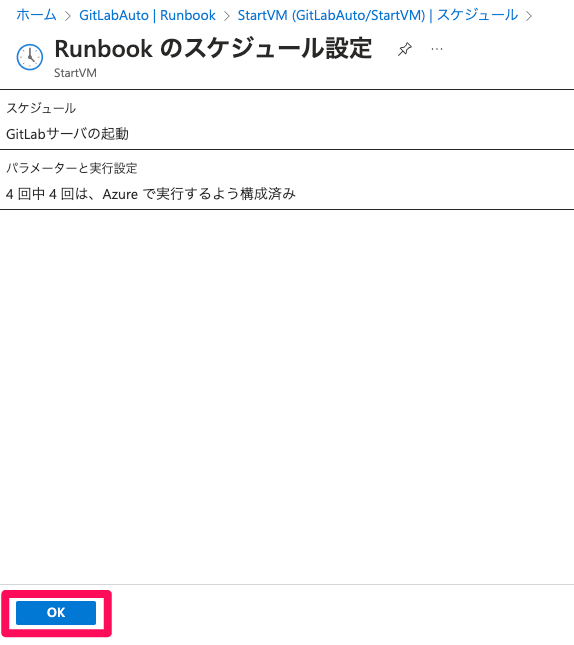
スケジュール設定に戻ってくるので、「OK」をクリック
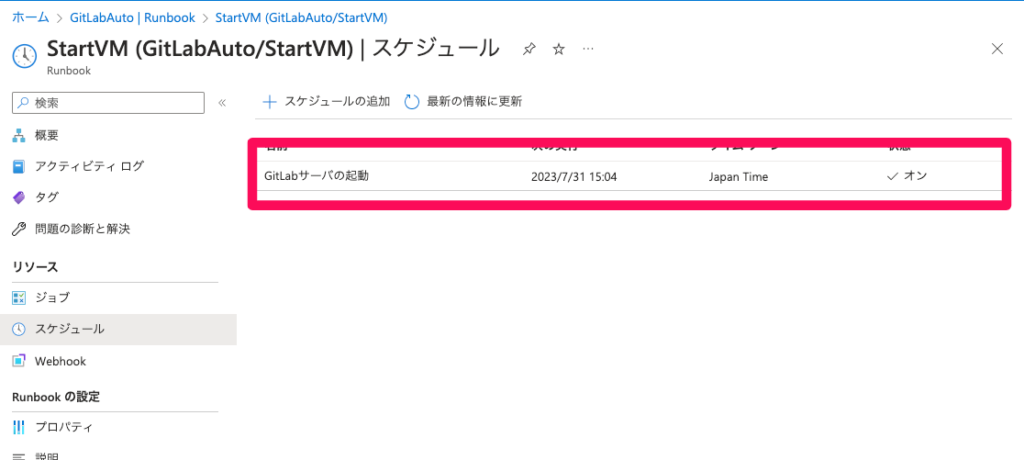
スケジュールに戻ってくると、先程登録したスケジュールが登録されている。
動作確認
翌日の朝に起動するように設定してあったので、GitLabサーバは無事に起動していた。
エラー等発生していないか確認してみる。
Automationアカウントを開いて、「Runbook」をクリック
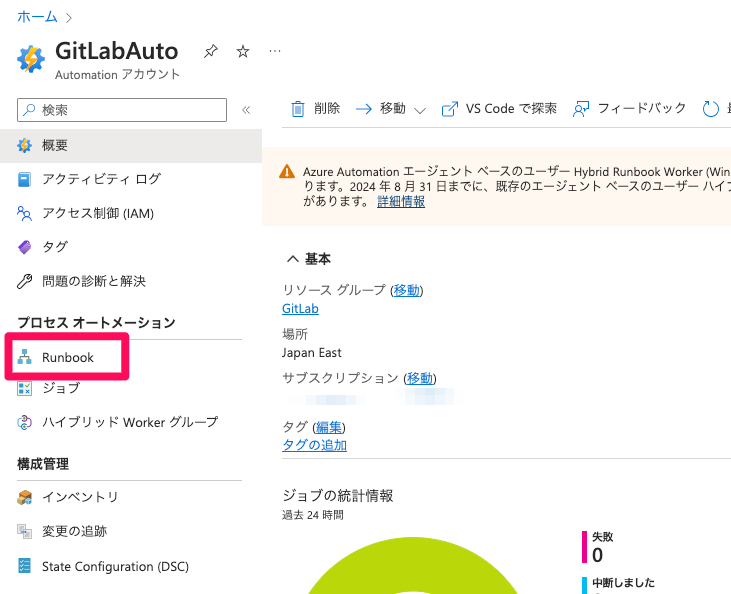
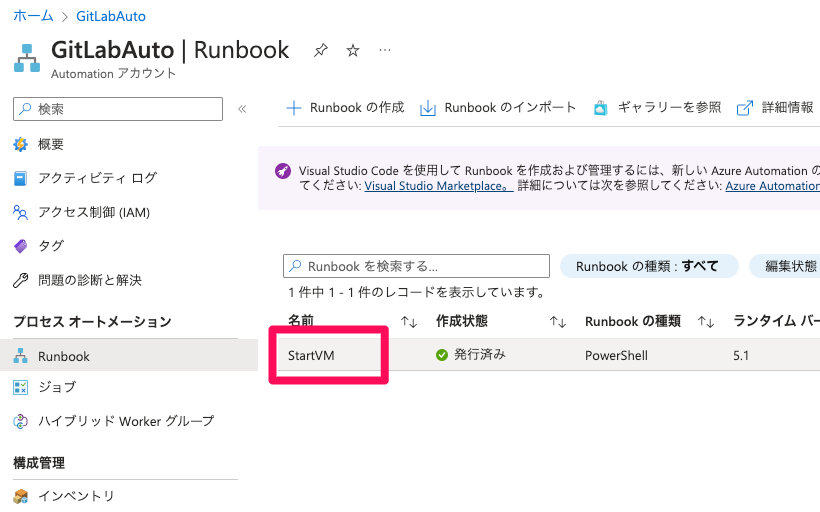
「StartVM」をクリック
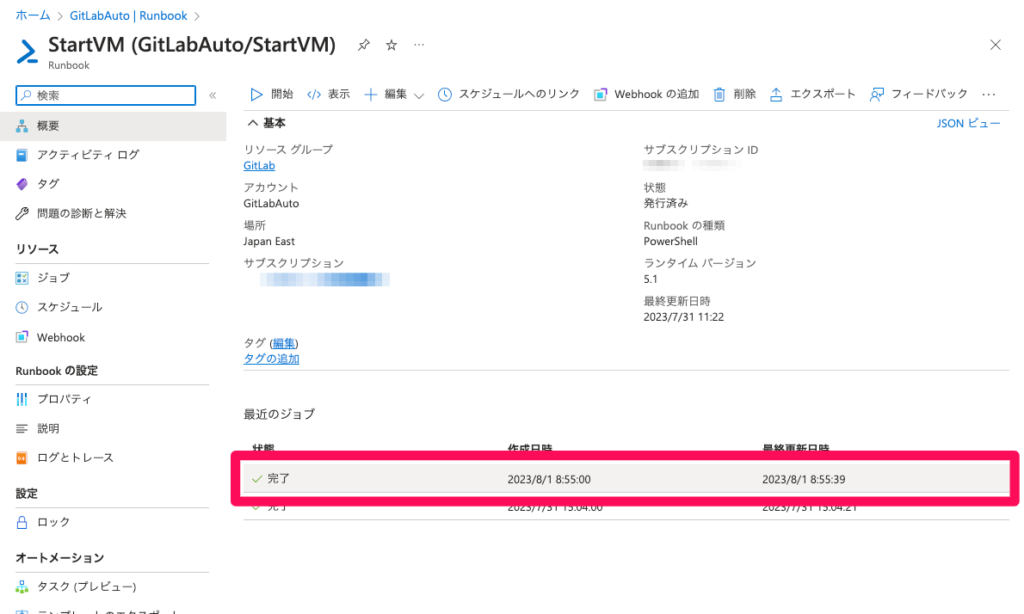
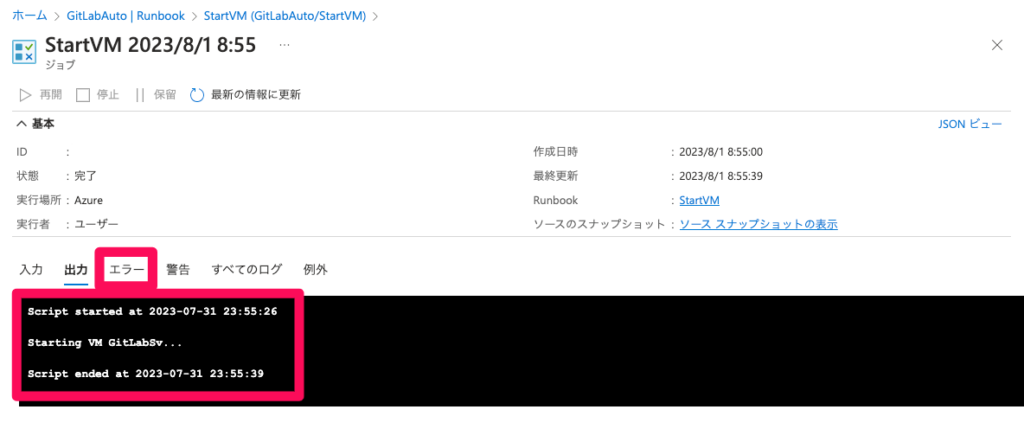
今朝のジョブをクリックする。
ジョブの「出力」をクリックする。
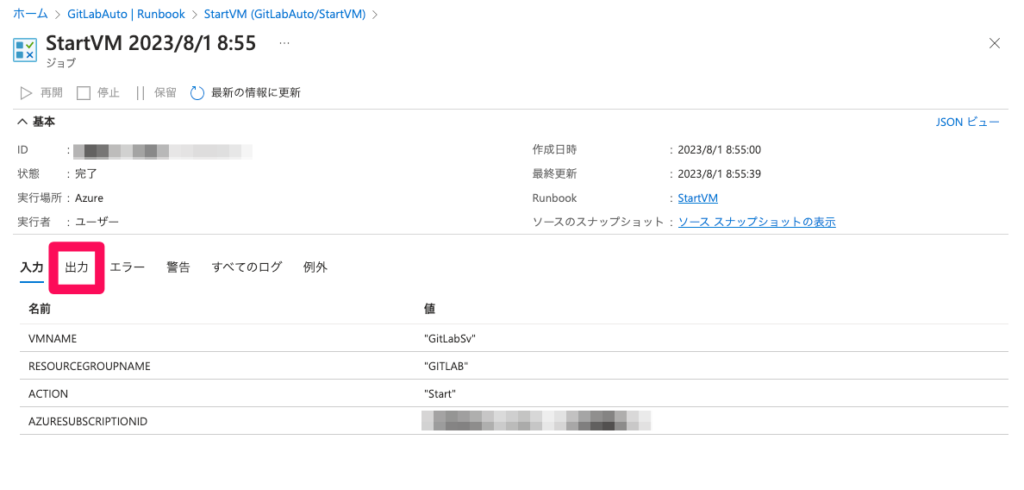
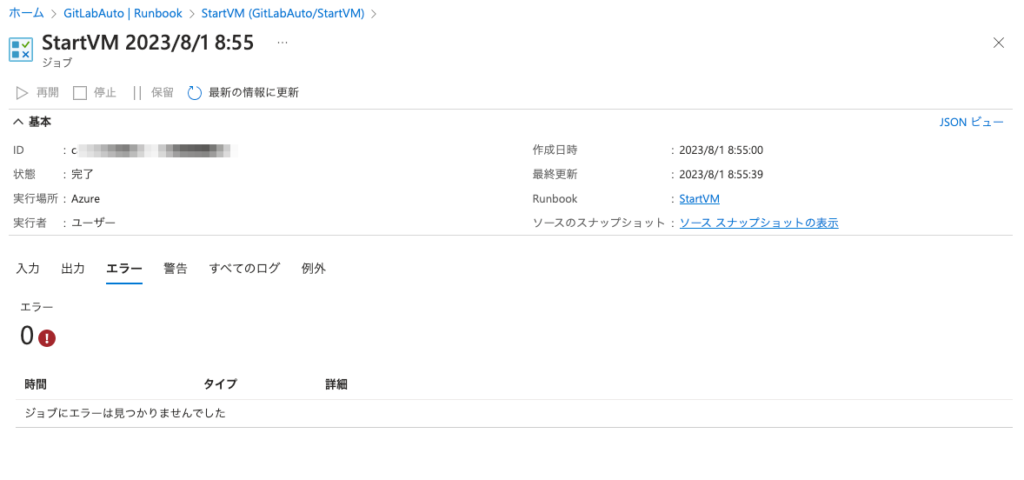
出力内容が問題ないことを確認して「エラー」をクリック
エラーも出力されていないことを確認する。
あとは、昔のAutomationアカウントを削除しておしまい。


コメント